This creamy roasted butternut squash soup recipe is a true weeknight hero, offering incredible flavor with minimal fuss.

It’s the perfect comforting meal for chilly evenings or whenever you crave something warm and satisfying. The magic truly happens when you roast the butternut squash, as this simple step unlocks its natural sweetness and deepens the overall taste, resulting in a soup that feels gourmet but is surprisingly easy to make.
Whether you’re a seasoned cook or just starting in the kitchen, this recipe is designed for success. It’s a fantastic way to enjoy a wholesome, vegetable-packed dish that everyone at the table will love. Get ready to discover your new favorite soup!
Table of Contents
- What You’ll Love About This Quick And Easy Recipe
- Everything You Need To Make This Recipe Without Stress
- Time Needed From Start To Finish
- How To Make It Step By Step With Visual Cues
- Easy Variations And Serving Ideas That Fit Real Life
- Common Slip-Ups And How To Avoid Them
- How To Store It And Make It Ahead Without Ruining Texture
- Questions People Always Ask Before Making This Recipe

Creamy Roasted Butternut Squash Soup
- Total Time: 45-50 minutes
- Yield: 6 servings 1x
Description
This creamy roasted butternut squash soup is a true weeknight hero, offering incredible flavor with minimal fuss. It’s the perfect comforting meal for chilly evenings or whenever you crave something warm and satisfying. The magic truly happens when you roast the butternut squash, as this simple step unlocks its natural sweetness and deepens the overall taste, resulting in a soup that feels gourmet but is surprisingly easy to make.
Ingredients
Instructions
1. Prepare the Butternut Squash for Roasting: Carefully peel the butternut squash using a vegetable peeler. Once peeled, cut the squash in half lengthwise and scoop out the seeds and stringy bits with a spoon. Then, chop the squash into roughly 1-inch cubes. Aim for pieces that are similar in size so they cook evenly.
2. Roast the Squash to Perfection: Spread the cubed butternut squash in a single layer on a baking sheet. Drizzle with 1 tablespoon of olive oil, sprinkle with half of the salt and pepper, and toss gently to coat. Roast in a preheated oven at 400 F (200 C) for 20-25 minutes, or until the squash is tender and slightly caramelized at the edges. This roasting step is key for deepening the flavor.
3. Saute Aromatics on the Stovetop: While the squash is roasting, heat the remaining 1 tablespoon of olive oil in a large pot or Dutch oven over medium heat. Add the chopped yellow onion and cook for 5-7 minutes, stirring occasionally, until it softens and becomes translucent.
4. Infuse with Garlic: Add the minced garlic to the pot with the softened onions. Cook for another minute, stirring constantly, until fragrant. Be careful not to let the garlic brown, as it can become bitter.
5. Combine and Simmer: Once the roasted butternut squash is tender, carefully add it to the pot with the sauteed onions and garlic. Pour in the vegetable broth. Bring the mixture to a gentle simmer, then reduce the heat to low, cover, and let it cook for about 10 minutes to allow the flavors to meld.
6. Achieve Creamy Smoothness: Remove the pot from the heat. Carefully use an immersion blender to blend the soup directly in the pot until it is completely smooth and creamy. If you don’t have an immersion blender, you can transfer the soup in batches to a regular blender (be very cautious when blending hot liquids, filling the blender only halfway and holding the lid down with a towel).
7. Finish and Season: Stir in the heavy cream (or coconut milk) and the remaining salt and pepper. Add a pinch of nutmeg if desired. Return the pot to low heat and warm through gently for a few minutes, but do not boil after adding the cream. Taste and adjust seasonings as needed. Serve hot!
- Prep Time: 15 minutes
- Cook Time: 30-35 minutes
- Category: soup
- Method: roasting, simmering
- Cuisine: american
Nutrition
- Serving Size: 1.5 cups
Keywords: butternut squash, soup, creamy, roasted, vegetarian, comfort food, easy, weeknight, healthy, gluten-free
What You’ll Love About This Quick And Easy Recipe
This recipe is a winner for so many reasons, making it an ideal choice for busy families and anyone looking for a delicious yet straightforward meal. It’s incredibly forgiving, meaning even if you’re new to cooking, you’ll achieve fantastic results. The roasting process is largely hands-off, allowing you to tackle other tasks while the squash transforms in the oven. This soup is perfect for a comforting dinner on a cool evening, a healthy lunch option, or even as an elegant starter for a casual gathering. It’s naturally gluten-free and can easily be made dairy-free, catering to various dietary needs without sacrificing flavor. The rich, savory taste with a hint of sweetness is universally appealing, making it a reliable crowd-pleaser.
Everything You Need To Make This Recipe Without Stress
Gathering your ingredients before you start cooking is a great way to ensure a smooth and stress-free experience. This recipe uses readily available items you might already have in your pantry or can easily find at any grocery store.
INGREDIENTS:

- 1 medium butternut squash (about 2-3 pounds)
- 2 tablespoons olive oil
- 1 medium yellow onion, chopped
- 2 cloves garlic, minced
- 4 cups vegetable broth
- 1/2 cup heavy cream (or coconut milk for dairy-free)
- 1 teaspoon salt
- 1/2 teaspoon black pepper
- Pinch of nutmeg (optional)
When selecting your butternut squash, look for one that feels heavy for its size and has a firm, unblemished skin. For the heavy cream, you can easily swap it for full-fat canned coconut milk if you prefer a dairy-free option; it will still yield a wonderfully creamy texture. If you don’t have vegetable broth on hand, chicken broth can work as a substitute, though it will alter the flavor slightly. Fresh garlic is always best for flavor, but a teaspoon of pre-minced garlic from a jar will also do in a pinch.
Time Needed From Start To Finish
This recipe is designed to be efficient, making it a great option for weeknight meals when time is often limited.
- Prep time: 15 minutes
- Cook time: 30-35 minutes
- Total time: 45-50 minutes
The majority of the cook time is hands-off, as the squash roasts in the oven, allowing you to prepare other components of your meal or simply relax.
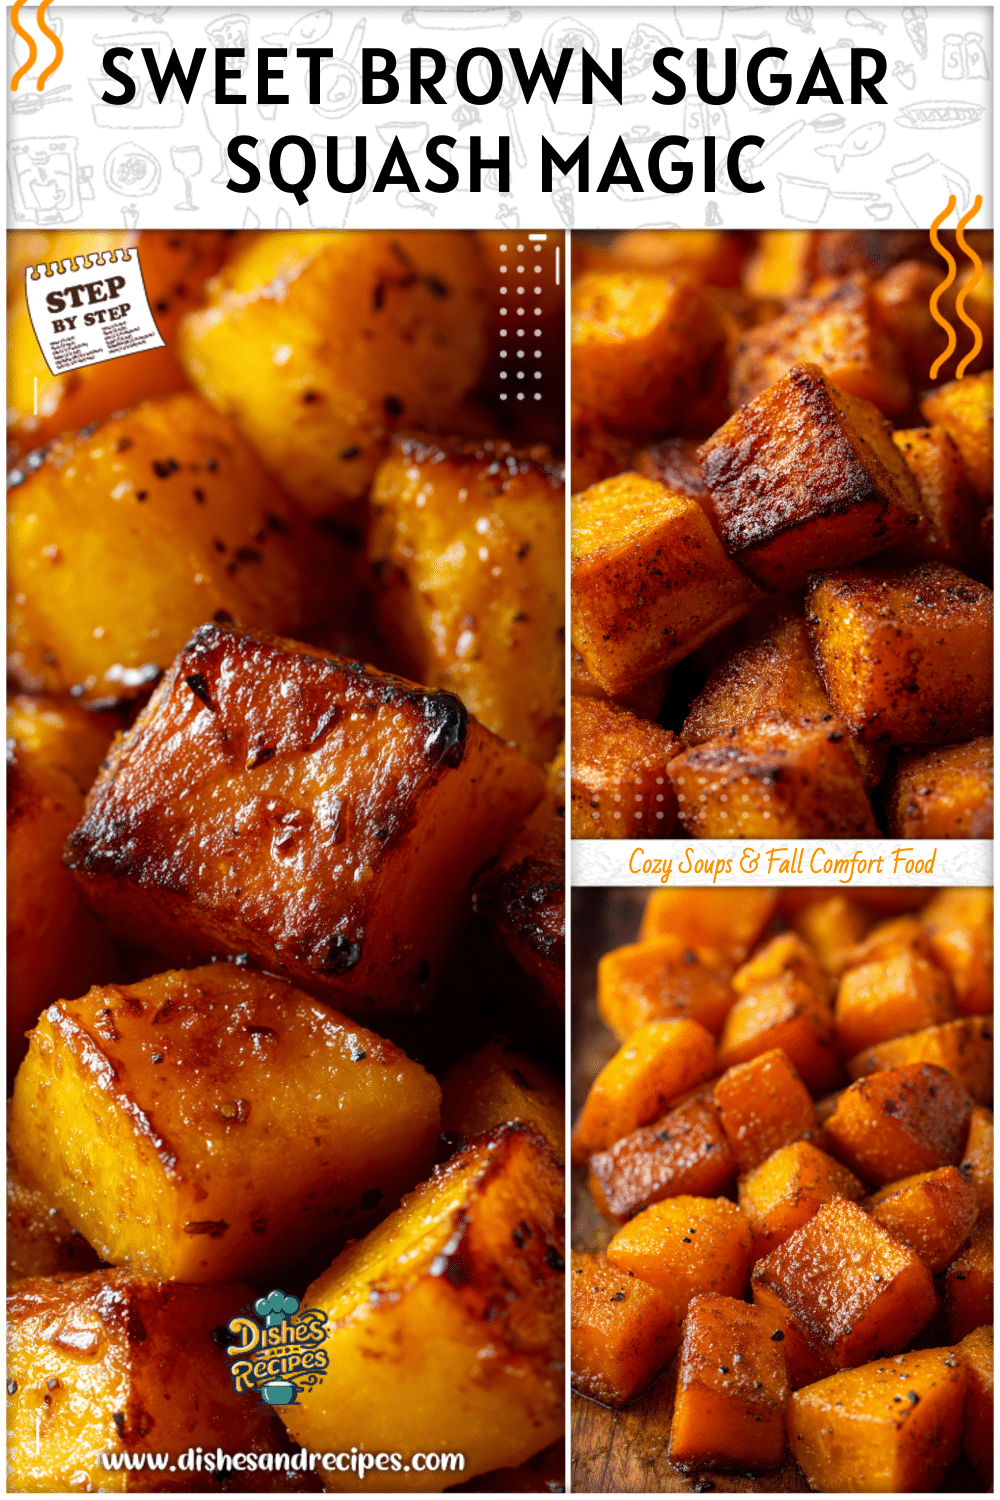
How To Make It Step By Step With Visual Cues

Creating this delicious soup is a straightforward process. Follow these steps to achieve a perfectly creamy and flavorful result.
- Prepare the Butternut Squash for Roasting: Carefully peel the butternut squash using a vegetable peeler. Once peeled, cut the squash in half lengthwise and scoop out the seeds and stringy bits with a spoon. Then, chop the squash into roughly 1-inch cubes. Aim for pieces that are similar in size so they cook evenly.
- Roast the Squash to Perfection: Spread the cubed butternut squash in a single layer on a baking sheet. Drizzle with 1 tablespoon of olive oil, sprinkle with half of the salt and pepper, and toss gently to coat. Roast in a preheated oven at 400°F (200°C) for 20-25 minutes, or until the squash is tender and slightly caramelized at the edges. This roasting step is key for deepening the flavor.
- Sauté Aromatics on the Stovetop: While the squash is roasting, heat the remaining 1 tablespoon of olive oil in a large pot or Dutch oven over medium heat. Add the chopped yellow onion and cook for 5-7 minutes, stirring occasionally, until it softens and becomes translucent.
- Infuse with Garlic: Add the minced garlic to the pot with the softened onions. Cook for another minute, stirring constantly, until fragrant. Be careful not to let the garlic brown, as it can become bitter.
- Combine and Simmer: Once the roasted butternut squash is tender, carefully add it to the pot with the sautéed onions and garlic. Pour in the vegetable broth. Bring the mixture to a gentle simmer, then reduce the heat to low, cover, and let it cook for about 10 minutes to allow the flavors to meld.
- Achieve Creamy Smoothness: Remove the pot from the heat. Carefully use an immersion blender to blend the soup directly in the pot until it is completely smooth and creamy. If you don’t have an immersion blender, you can transfer the soup in batches to a regular blender (be very cautious when blending hot liquids, filling the blender only halfway and holding the lid down with a towel).
- Finish and Season: Stir in the heavy cream (or coconut milk) and the remaining salt and pepper. Add a pinch of nutmeg if desired. Return the pot to low heat and warm through gently for a few minutes, but do not boil after adding the cream. Taste and adjust seasonings as needed. Serve hot!
Easy Variations And Serving Ideas That Fit Real Life
This creamy roasted butternut squash soup is wonderfully versatile and can be adapted to suit various tastes and occasions. For a kid-friendly twist, you can serve smaller portions with a swirl of plain yogurt or a sprinkle of mild cheddar cheese. They often enjoy dipping crusty bread into the soup.
To elevate the soup for a party or buffet, consider offering a topping bar. Some fantastic options include toasted pumpkin seeds (pepitas), croutons, a drizzle of good quality olive oil, a swirl of crème fraîche or sour cream, fresh chopped chives, or even a sprinkle of crumbled crispy bacon for those who enjoy meat. For a touch of warmth and spice, a tiny pinch of cayenne pepper or a swirl of chili oil can be added just before serving.
If you want to make it a more substantial meal, you can stir in some cooked lentils or white beans during the simmering stage. For a different flavor profile, try adding a peeled and cored apple along with the butternut squash during roasting; the sweetness will be a delightful complement.
Common Slip-Ups And How To Avoid Them
Even simple recipes can have small pitfalls. Being aware of these common mistakes can help you achieve perfect results every time.
- Not roasting the squash: This is the most crucial step for flavor. Boiling or steaming the squash won’t give you the same depth of sweetness and rich, nutty flavor that roasting does. Don’t skip it!
- Overcrowding the baking sheet: When roasting the squash, if the pieces are too close together, they will steam instead of roast, leading to a less caramelized and flavorful result. Use two baking sheets if necessary to ensure a single layer.
- Burning the garlic: Garlic can go from perfectly fragrant to burnt and bitter very quickly. Keep a close eye on it when sautéing and cook it for just about a minute until it’s aromatic.
- Blending hot soup in a regular blender incorrectly: Hot liquids expand when blended, which can cause the lid to blow off. Always fill the blender only halfway, remove the small cap from the lid (to allow steam to escape), and cover the opening with a kitchen towel while blending. Start on low speed and gradually increase.
- Boiling after adding cream: Once you’ve added the heavy cream or coconut milk, avoid bringing the soup to a rolling boil. High heat can cause the cream to curdle or separate. Gently warm it through over low heat.
- Not seasoning adequately: Taste your soup before serving and adjust the salt, pepper, and any other seasonings. Sometimes a little extra salt can really make the flavors pop.
How To Store It And Make It Ahead Without Ruining Texture
This creamy roasted butternut squash soup is excellent for making ahead, and it stores beautifully, making it a fantastic option for meal prep.
To store leftovers, allow the soup to cool completely to room temperature. Transfer it to an airtight container and refrigerate for up to 3-4 days.
For longer storage, this soup freezes exceptionally well. Pour the cooled soup into freezer-safe containers or heavy-duty freezer bags, leaving some headspace for expansion. It can be frozen for up to 3 months. Thaw frozen soup overnight in the refrigerator before reheating.
When reheating, gently warm the soup on the stovetop over medium-low heat, stirring occasionally, until it’s heated through. If the soup seems too thick after refrigeration or freezing, you can add a splash of vegetable broth or water to reach your desired consistency. The texture holds up remarkably well, remaining creamy and smooth even after being frozen and thawed.
Questions People Always Ask Before Making This Recipe
Here are some common questions that often come up when people are preparing this delicious

FAQs
- Can I make these ahead? Yes—prep ahead, refrigerate, then serve when ready.
- How long do leftovers last? Store covered in the fridge for 3–4 days for best texture.
- Can I adjust sweetness? Yes—add more or less sweetener to taste.
- Can I change the fruit? Yes—swap strawberries for blueberries, raspberries, or sliced banana.