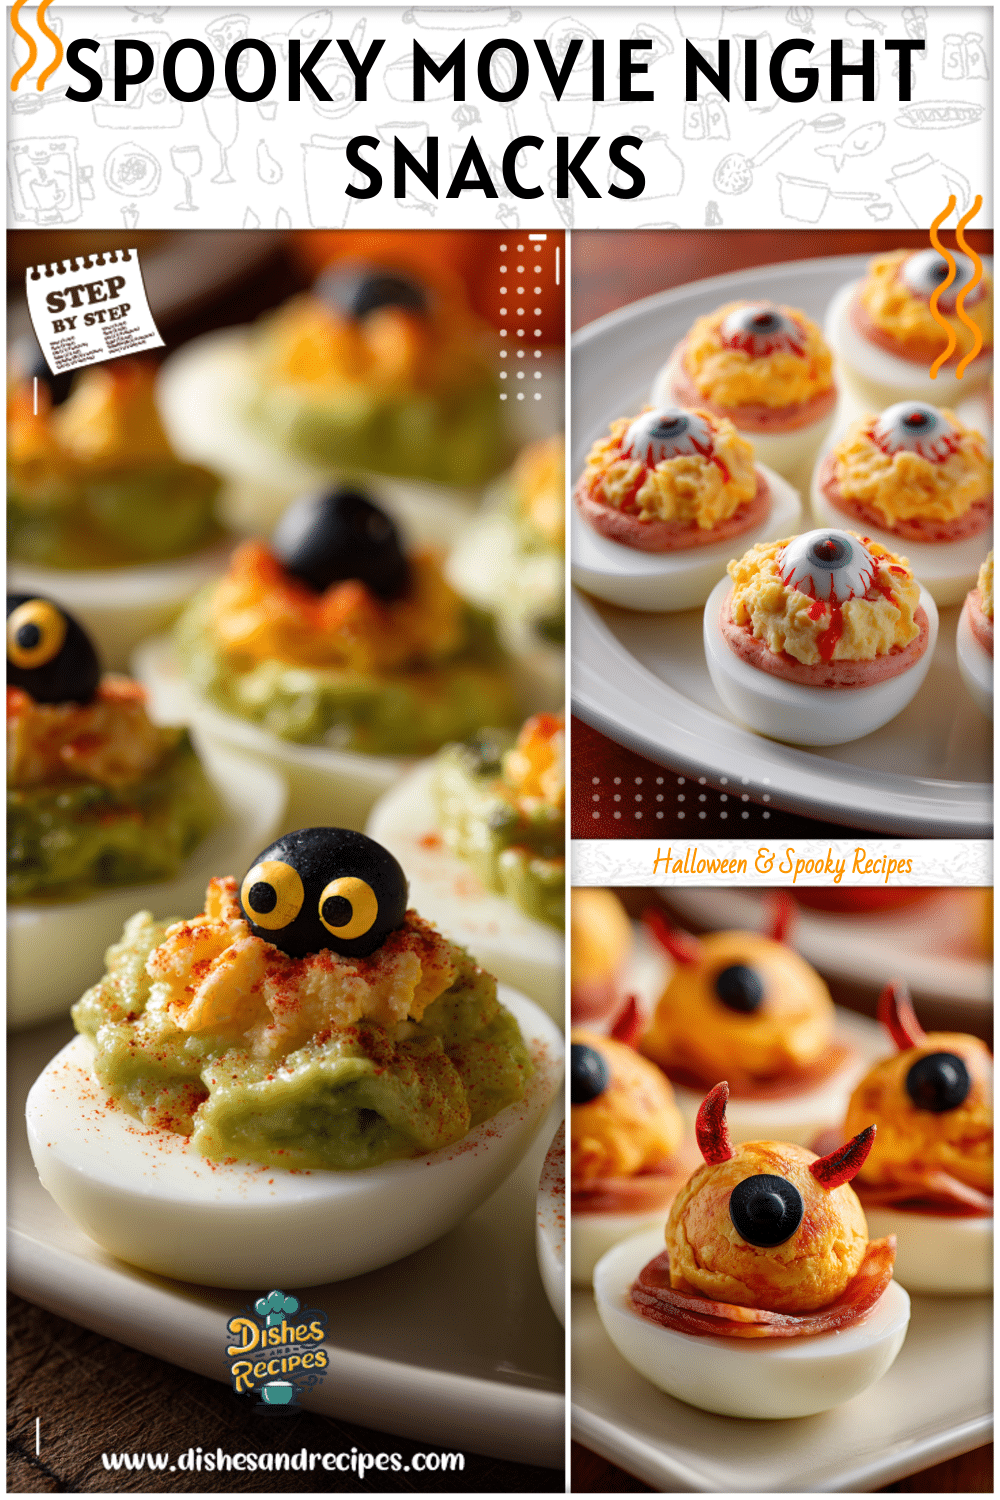
Get ready to whip up the cutest, spookiest treats for your Halloween celebrations! These ghost pretzel snack bites are incredibly simple to make, requiring minimal ingredients and effort, yet they deliver maximum festive fun. Perfect for last-minute party contributions or a fun afternoon activity with the kids, these chocolate-covered pretzels are guaranteed to bring smiles.

This recipe focuses on ease and accessibility, ensuring anyone can create these adorable ghostly figures. With just a few steps, you’ll transform ordinary pretzels into a delightful Halloween snack that’s both sweet and salty, and utterly charming.
Table of Contents
- What You’ll Love About This Quick And Easy Recipe
- Everything You Need To Make This Recipe Without Stress
- Time Needed From Start To Finish
- How To Make It Step By Step With Visual Cues
- Easy Variations And Serving Ideas That Fit Real Life
- Common Slip-Ups And How To Avoid Them
- How To Store It And Make It Ahead Without Ruining Texture
- Questions People Always Ask Before Making This Recipe

Ghost Pretzel Snack Bites
- Total Time: 25-30 minutes
- Yield: 24-30 pretzels 1x
Description
These ghost pretzel snack bites are incredibly simple to make, requiring minimal ingredients and effort, yet they deliver maximum festive fun. Perfect for last-minute party contributions or a fun afternoon activity with the kids, these chocolate-covered pretzels are guaranteed to bring smiles. This recipe focuses on ease and accessibility, ensuring anyone can create these adorable ghostly figures. With just a few steps, you’ll transform ordinary pretzels into a delightful Halloween snack that’s both sweet and salty, and utterly charming.
Ingredients
Instructions
1. Prepare Your Workspace: Line a baking sheet with parchment paper or wax paper. This will prevent the chocolate-covered pretzels from sticking and make cleanup a breeze. Set it aside.
2. Melt the White Chocolate: In a microwave-safe bowl, combine the white chocolate melting wafers (or chips) and the optional coconut oil or shortening. Microwave on high in 30-second intervals, stirring well after each interval, until the chocolate is completely smooth and melted. Be careful not to overheat, as white chocolate can seize.
3. Dip the Pretzels: Hold a pretzel by one end and dip it into the melted white chocolate, covering about two-thirds to three-quarters of the pretzel. Allow any excess chocolate to drip back into the bowl. You want a good, even coating without too much pooling.
4. Shape Your Ghosts: Gently place the dipped pretzel onto the prepared baking sheet. Using a small spoon or the back of a knife, lightly spread the melted chocolate at the bottom of the pretzel to create a slightly wavy, ghost-like “tail” or irregular bottom edge. This gives them that classic spooky shape.
5. Chill to Set: Once all your pretzels are dipped and shaped, transfer the baking sheet to the refrigerator for 10-15 minutes, or until the white chocolate is completely firm and set. This step is crucial before decorating.
6. Add the Ghostly Faces: Once the chocolate is fully hardened, retrieve the pretzels from the refrigerator. Use your black edible food marker or black gel icing to draw two small dots for eyes on each ghost. You can make them perfectly round or slightly oval for different expressions.
7. Final Touches: Allow the edible marker or gel icing to dry for a few minutes before handling or serving. If using gel icing, ensure it’s completely set to avoid smudging.
- Prep Time: 15 minutes
- Cook Time: 0 minutes
- Category: dessert
- Method: no bake
- Cuisine: american
Nutrition
- Serving Size: 1 pretzel
Keywords: halloween, ghost, pretzel, snack, chocolate, easy, kid-friendly, party food, sweet and salty, no bake
What You’ll Love About This Quick And Easy Recipe
This recipe is a true winner for anyone looking for a no-fuss Halloween treat. It’s perfect for busy parents, beginner bakers, or anyone who wants a festive snack without spending hours in the kitchen. The combination of salty pretzels and sweet white chocolate is universally appealing, making these ghost bites a hit with both kids and adults. They are ideal for school parties, neighborhood trick-or-treat gatherings, or simply as a fun, themed snack to enjoy at home during the spooky season. The hands-on nature of decorating also makes it a fantastic activity to do with children, encouraging creativity and providing a delicious reward.
Everything You Need To Make This Recipe Without Stress
Gathering your ingredients for these ghost pretzel snack bites is straightforward, focusing on common pantry staples and readily available items. You won’t need any fancy equipment, just a few basics to melt chocolate and decorate.
INGREDIENTS:

- 1 bag (10-12 ounces) mini pretzel twists or pretzel rods
- 1 bag (12 ounces) white chocolate melting wafers or white chocolate chips
- 1 tablespoon coconut oil or vegetable shortening (optional, for smoother melting)
- Black edible food marker or black gel icing
After you’ve got your main ingredients, consider a few simple substitutions if needed. If you can’t find white chocolate melting wafers, good quality white chocolate chips will work, though you might need the coconut oil or shortening to help them melt smoothly and achieve a good dipping consistency. For the ghost eyes, a black edible food marker is the easiest option for drawing, but you can also use black gel icing in a fine-tipped tube for a similar effect. If you’re feeling adventurous, tiny chocolate chips or mini M&M’s can also be used for eyes, pressed onto the chocolate before it sets.
Time Needed From Start To Finish
This recipe is designed for speed and efficiency, making it perfect for when time is of the essence.
- Preparation Time: 15 minutes
- Chilling Time: 10-15 minutes
- Total Time: 25-30 minutes
How To Make It Step By Step With Visual Cues

Creating these ghost pretzel snack bites is a fun and simple process. Follow these steps for perfectly spooky treats every time.
- Prepare Your Workspace: Line a baking sheet with parchment paper or wax paper. This will prevent the chocolate-covered pretzels from sticking and make cleanup a breeze. Set it aside.
- Melt the White Chocolate: In a microwave-safe bowl, combine the white chocolate melting wafers (or chips) and the optional coconut oil or shortening. Microwave on high in 30-second intervals, stirring well after each interval, until the chocolate is completely smooth and melted. Be careful not to overheat, as white chocolate can seize.
- Dip the Pretzels: Hold a pretzel by one end and dip it into the melted white chocolate, covering about two-thirds to three-quarters of the pretzel. Allow any excess chocolate to drip back into the bowl. You want a good, even coating without too much pooling.
- Shape Your Ghosts: Gently place the dipped pretzel onto the prepared baking sheet. Using a small spoon or the back of a knife, lightly spread the melted chocolate at the bottom of the pretzel to create a slightly wavy, ghost-like “tail” or irregular bottom edge. This gives them that classic spooky shape.
- Chill to Set: Once all your pretzels are dipped and shaped, transfer the baking sheet to the refrigerator for 10-15 minutes, or until the white chocolate is completely firm and set. This step is crucial before decorating.
- Add the Ghostly Faces: Once the chocolate is fully hardened, retrieve the pretzels from the refrigerator. Use your black edible food marker or black gel icing to draw two small dots for eyes on each ghost. You can make them perfectly round or slightly oval for different expressions.
- Final Touches: Allow the edible marker or gel icing to dry for a few minutes before handling or serving. If using gel icing, ensure it’s completely set to avoid smudging.
Easy Variations And Serving Ideas That Fit Real Life
These ghost pretzel snack bites are incredibly versatile and can be adapted to suit various tastes and occasions. For a fun twist, try dipping half of the pretzels in white chocolate and the other half in melted milk or dark chocolate before drawing the ghost faces – creating a variety of spooky characters. You could also sprinkle a tiny pinch of Halloween-themed sprinkles onto the wet white chocolate before it sets for an extra pop of color and texture.
When serving, arrange them artfully on a platter alongside other Halloween treats like candy corn, pumpkin-shaped cookies, or even a bowl of spooky punch. They make a fantastic addition to a dessert table at a party or a fun after-school snack. For a truly interactive experience, set up a “ghost decorating station” where kids can dip their own pretzels (with supervision for the hot chocolate) and then draw the faces themselves once the chocolate has set. This is a great way to engage younger guests and make the treat even more special.
Common Slip-Ups And How To Avoid Them
Even with a simple recipe like this, a few common mistakes can occur. Being aware of them can help you achieve perfect ghost pretzels every time.
- Overheating the White Chocolate: White chocolate is delicate and can seize or become clumpy if microwaved for too long or at too high a power. Always melt it in short intervals (30 seconds) and stir thoroughly in between. If it starts to look thick, a tiny bit more coconut oil or shortening can sometimes help, but prevention is key.
- Not Letting Excess Chocolate Drip Off: If you don’t allow enough excess chocolate to drip off the pretzel before placing it on the parchment paper, you’ll end up with thick, uneven puddles around the base. This can make the ghost shape less defined and use up more chocolate than necessary.
- Decorating Before the Chocolate is Set: Trying to draw faces on soft or tacky chocolate will lead to smudged eyes and a messy ghost. Always ensure the chocolate is completely firm and cool from the refrigerator before you start drawing.
- Using a Marker on Warm Chocolate: The heat from slightly warm chocolate can cause edible markers to “bleed” or spread, creating blurry lines. Make sure the pretzels are thoroughly chilled before decorating.
- Not Lining Your Baking Sheet: Skipping the parchment or wax paper will result in pretzels sticking to the baking sheet, potentially breaking them when you try to remove them. This simple step saves a lot of frustration.
How To Store It And Make It Ahead Without Ruining Texture
These ghost pretzel snack bites are excellent for making ahead of time, which is a huge plus for party planning. Once the chocolate has fully set and the eyes are dry, store them in an airtight container at room temperature. If your home is particularly warm, you can store them in the refrigerator, but allow them to come closer to room temperature before serving for the best texture and flavor. Stored properly, they will maintain their freshness and crispness for up to 1 week.
To prevent them from sticking together in the container, you can place a piece of parchment paper between layers. There’s no need for reheating; these are best enjoyed chilled or at room temperature. Making them a day or two before your event will free up your time and reduce stress on the day of the party, ensuring you have a perfectly festive treat ready to go.
Questions People Always Ask Before Making This Recipe
Can I use regular chocolate chips instead of melting wafers?
Yes, you can, but melting wafers are formulated to melt more smoothly and set more quickly. If using regular white chocolate chips, add 1 teaspoon of coconut oil or vegetable shortening per cup of chips to help achieve a smoother, more dippable consistency.How do I prevent the white chocolate from seizing?
To prevent seizing, melt white chocolate slowly in short bursts in the microwave, stirring well after each interval. Avoid getting any water into the chocolate, as even a tiny drop can cause it to seize.What if I don’t have an edible food marker?
You can use black gel icing in a tube with a fine tip to draw the eyes. Alternatively, miniature chocolate chips or even small bits of black licorice can be pressed onto the wet chocolate for eyes before it sets.How long do these ghost pretzels last?
When stored in an airtight container at room temperature, these ghost pretzel snack bites will stay fresh and crispy for up to 1 week. If stored in the refrigerator, they can last a bit longer, but let them warm up slightly before serving.Can kids help make these?
Absolutely! This is a fantastic recipe for kids to help with. They can assist with dipping (with adult supervision for the hot chocolate) and
FAQs
- Can I make these ahead? Yes—prep ahead, refrigerate, then serve when ready.
- How long do leftovers last? Store covered in the fridge for 3–4 days for best texture.
- Can I adjust sweetness? Yes—add more or less sweetener to taste.
- Can I change the fruit? Yes—swap strawberries for blueberries, raspberries, or sliced banana.