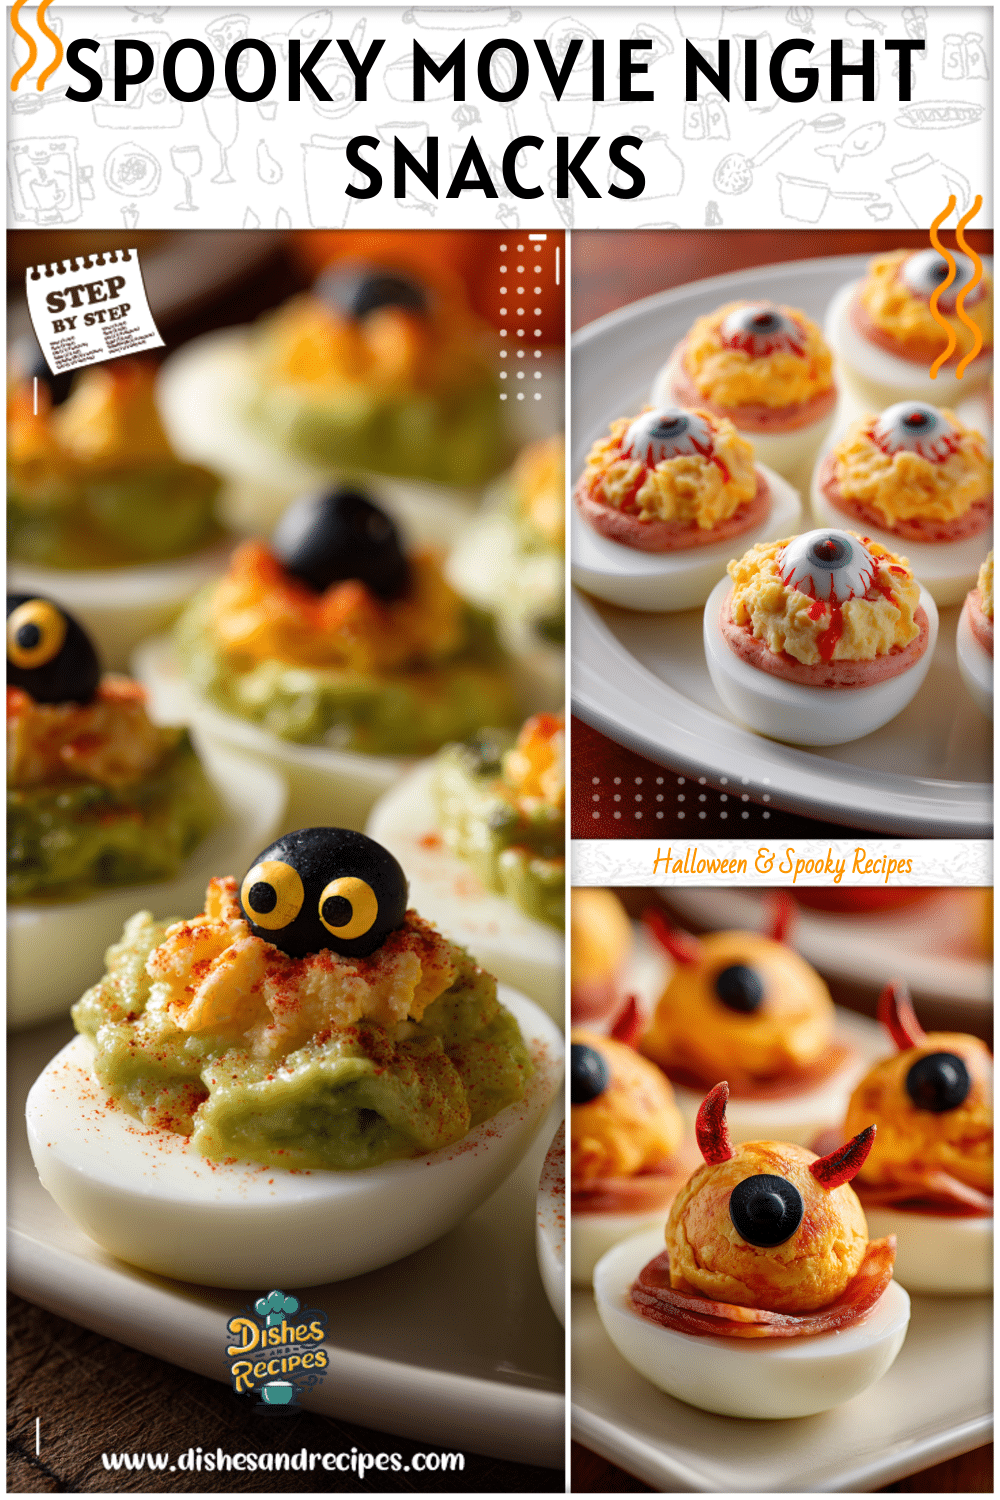
Halloween is the one time of year when food is meant to be both tasty and spooky—and nothing grabs attention quite like Halloween Mozzarella Skulls on a party spread. These edible little skulls add the perfect creepy touch to spooky charcuterie boards, balancing fright with fun. Whether you’re hosting friends, entertaining kids, or putting together an unforgettable Halloween party food display, mozzarella skulls are as easy to make as they are impressive to serve. In this guide, I’ll share my own story behind discovering this idea, step-by-step instructions, creative styling tips, and answers to common questions.

A Haunted Halloween Snack Tradition
I still remember the first time I made Halloween Mozzarella Skulls—it wasn’t planned at all. One October, I was rushing around preparing snacks for a neighborhood Halloween party. Between trying to make kid-friendly treats and something adults would actually enjoy, I stumbled across a silicone mold in the shape of tiny skulls. Instead of baking sweets in it, I had a lightbulb moment: why not try mozzarella?
The idea worked better than I could have imagined. The cheese took on every eerie detail of the mold, creating tiny edible skulls that made everyone laugh and snap photos before taking a bite. Kids thought they were spooky but fun, while adults appreciated how nicely they paired on a Halloween themed food board with meats, fruit, and wine.
Over the years, making mozzarella skulls has evolved into a small tradition in my home. Every October, I prepare a big board loaded with themed snacks—but the skulls always steal the spotlight. Parents ask how difficult they are to make, and kids dart back to grab “just one more.” That simple mold turned into one of my favorite holiday food hacks, proving that even small creative touches can leave the biggest impressions at holiday gatherings.
Print
Halloween Mozzarella Skulls for Spooky Charcuterie Boards
- Total Time: 1 hour 20 minutes
- Yield: 12 mini skulls (about 6 servings) 1x
Description
Creepy-cute mozzarella skulls molded in silicone are the easiest way to add a spooky centerpiece to your Halloween charcuterie board. Mild, customizable, and make-ahead friendly.
Ingredients
Instructions
1. Lightly oil a food-grade silicone skull mold so the cheese releases cleanly.
2. Drain mozzarella and pat very dry with paper towels to remove excess moisture.
3. Cut mozzarella into chunks and press firmly into each skull cavity, packing into all details.
4. Sprinkle in herbs, salt, garlic powder, pepper, and red pepper flakes as desired while layering.
5. Smooth the tops level. Chill 1 hour to set, or freeze 15–20 minutes for a faster firm-up.
6. Gently peel back the silicone and unmold each mozzarella skull; work slowly to keep details intact.
7. Arrange on a board and, if desired, lightly drizzle with olive oil. Serve with cured meats, olives, dark grapes, crackers, and spreads.
- Prep Time: 20 minutes
- Cook Time: 0 minutes
Nutrition
- Calories: 55 kcal
- Sodium: 85 mg
- Fat: 4 g
- Carbohydrates: 1 g
- Protein: 4 g
Why Mozzarella Skulls Steal the Show
So, what makes mozzarella the perfect choice for this spooky snack? For starters, the cheese itself is soft and pliable, which means it easily picks up the skull design from silicone molds. Unlike harder cheeses, you don’t have to carve—it’s almost effortless. Plus, mozzarella’s mild flavor makes it family-friendly, so the same batch works for both kids and adults.
On a meat and cheese tray, these skulls add a touch of gothic charm that sparks conversations before the first bite. They’re not just decorative; they’re edible focal points that elevate any spooky charcuterie board. Since they’re neutral in flavor, you can dress them up with a drizzle of olive oil, some fresh herbs, or a light dusting of seasoning to complement other foods on the spread.
Best of all, Halloween Mozzarella Skulls are versatile: they can stand alone as quick appetizers on a platter, be tucked in among dips and spreads, or serve as the dramatic centerpiece of your entire charcuterie board. They’re the kind of detail that transforms a simple snack spread into something party guests won’t forget.
Ingredients, Tools, and Prep Work
Before you start making your Halloween Mozzarella Skulls, gather everything you need so the process is quick and stress-free. The great thing about this recipe is that it doesn’t involve complicated cooking—it’s mostly about creativity and presentation.
- Ingredients: Fresh mozzarella balls, optional chopped herbs, optional seasonings, olive oil
- Tools: Skull silicone mold, knife, cutting board, bowls, paper towels
Tips: Use fresh mozzarella in brine, lightly oil molds, and pick sizes depending on whether you want mini skulls or a bigger centerpiece.
Making the Mozzarella Skulls
- Drain mozzarella and pat dry.
- Cut into chunks and press firmly into skull mold cavities.
- Add herbs or seasonings if desired.
- Chill for 1 hour or briefly freeze to set.
- Gently unmold, releasing the cheese skulls carefully.
- Arrange on your board, drizzle with olive oil if you wish.
| Ingredient | Quantity (12 mini skulls) |
|---|---|
| Fresh mozzarella balls | 8 oz |
| Olive oil (optional) | 1–2 tsp |
| Fresh herbs (optional) | 2 tsp finely chopped |
| Seasonings (optional) | ½ tsp combined |
Party Tips: Make skulls one day in advance, keep them refrigerated, and save olive oil drizzles for right before serving.
Building the Perfect Spooky Meat and Cheese Tray
Once you’ve popped your Halloween Mozzarella Skulls out, arrange them on a dark board. Use cured meats, olives, black grapes, figs, crackers, and dips to complete the eerie vibe. Balance colors—white mozzarella alongside dark fruits and pops of orange like cheddar or peppers—for that perfect festive appeal.
Creative Variations for Different Crowds
For Adults: Pair mozzarella skulls with wine, cured meats, and gourmet cheeses. Add rosemary or edible flowers for elegance.
For Kids: Focus on mild flavors, ham or turkey roll-ups, dips in cauldrons, and playful extras like candy eyeballs or gummy worms.
Mix Themes: Add pumpkin cheese balls, bat-shaped crackers, or witch hat cookies with the skulls for a complete Halloween themed food display.
FAQ
How far in advance can I make mozzarella skulls? Up to 24 hours before, stored airtight in the refrigerator.
Can I add herbs or flavors? Yes, tuck basil, parsley, garlic, or chili flakes inside the molds for extra flavor.
No skull mold? Roll mozzarella into balls and carve light skull details, or use pumpkin/bat molds.
Keeping them fresh outdoors? Place boards in shaded areas, set ice packs under them, and rotate in fresh batches mid-event.
Conclusion
With just mozzarella and a simple mold, you can create Halloween Mozzarella Skulls for Spooky Charcuterie Boards that wow guests of all ages. They double as quick appetizers, conversation starters, and the highlight of any spooky meat and cheese tray. From gourmet spreads for adults to playful boards for kids, these edible skulls are an unforgettable and easy win for your next Halloween party food setup.
So give your board a spooky upgrade this year—make mozzarella skulls, style your display, and enjoy the magic of a fun, festive, and delicious Halloween treat.