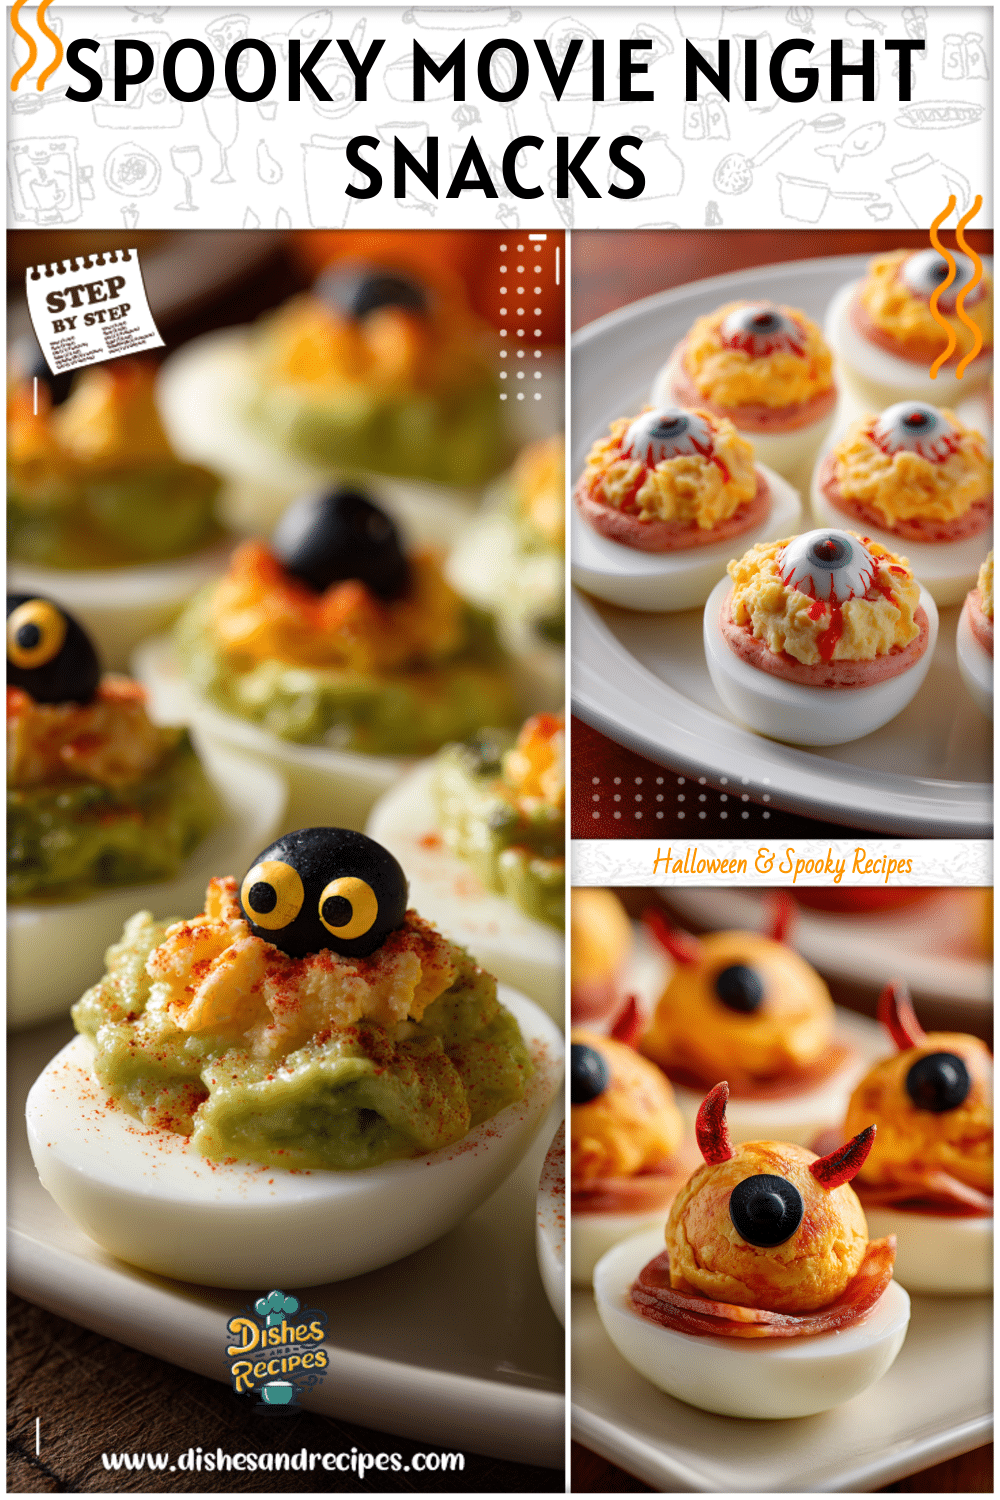
Halloween is the perfect season to mix spooky creativity with delicious food, and what better way than transforming mozzarella into eerie little skulls? These DIY mozzarella skulls instantly add a creepy-cool effect to your Halloween themed food boards, from scary pasta dishes to meat and cheese trays or even fun charcuterie spreads. The best part is that they’re simple to make, yet incredibly effective in setting the mood for your gathering.

In this article, we’ll dive into the story of how this festive idea came about, list the ingredients and tools you’ll need, share a step-by-step recipe, explore fun serving ideas, and answer your most common questions so you’re ready for Halloween night.
Why Halloween Food Boards Need Mozzarella Skulls
Growing up, Halloween parties in my family were all about the atmosphere—pumpkins glowing in the dark, ghost-shaped cookies on the table, and a little touch of spooky fun in every corner. But food always stood out as the centerpiece of the night. I remember one particular party where themed foods like spider cupcakes and mummy hot dogs made the crowd cheer. That memory stuck with me, and it’s exactly why food styling plays such a big role in holiday gatherings. Adding DIY mozzarella skulls to your spread brings that same magic. They’re a clever way to turn ordinary Halloween themed food boards and even Halloween pasta into creative dishes that guests remember long after the night ends.
The idea for mozzarella skulls started as a happy kitchen experiment. I had a set of silicone molds left over from another project and a pack of fresh mozzarella balls waiting to be used. On a whim, I pressed the cheese into the skull-shaped molds and chilled them to see what would happen. When I popped them out, they looked spooky, adorable, and perfect for a Halloween spread. From there, I tried them on meat and cheese trays, tucked a few into bowls of Halloween pasta, and even used them as appetizers with crackers and olives. With just a handful of simple tools, mozzarella went from plain to spine-chilling party favorite. Now, it’s become a tradition in my kitchen every October.
Print
DIY Mozzarella Skulls
- Total Time: 60 mins
- Yield: 12 skulls 1x
Description
These spooky DIY mozzarella skulls are perfect for Halloween themed food boards, pasta dishes, and charcuterie spreads. Made with fresh mozzarella pressed into skull-shaped silicone molds, they add a creepy-cool touch to any party. Simple to prepare and customizable with seasonings, these bite-sized skulls can be made ahead and stored until serving.
Ingredients
Instructions
1. Wash and dry skull-shaped silicone molds, then lightly brush with olive oil or spray with non-stick spray.
2. Drain mozzarella balls and pat dry. Microwave 3–4 balls at a time for 15–20 seconds until soft and pliable.
3. Press each warm mozzarella ball firmly into the mold, filling all details. Use a small spoon or spatula to ensure clean edges.
4. Season each skull with a pinch of salt, pepper, and optional garlic powder or Italian seasoning. Add a few red pepper flakes in the eye sockets for a bloody effect if desired.
5. Place molds in the refrigerator for at least 45 minutes to set (or freeze for 10–15 minutes for faster results).
6. Carefully pop out the set mozzarella skulls. Trim any excess cheese for sharper detail.
7. Arrange skulls on a serving board or plate, garnish with fresh basil leaves, and keep chilled until serving.
- Prep Time: 10 mins
- Cook Time: 0 mins
Nutrition
- Calories: 120
- Sodium: 200
- Fat: 9
- Carbohydrates: 1
- Protein: 7
Simple Ingredients for Mozzarella Skulls
The best part about making DIY mozzarella skulls is that you don’t need anything fancy—just fresh mozzarella and a few kitchen basics. These little skulls are meant to be fun and approachable, so you can keep things very simple or dress them up with seasonings and garnishes.
| Ingredient/Tool | Purpose | Notes |
|---|---|---|
| Fresh mozzarella balls (ciliegine or bocconcini) | Main ingredient | Soft and pliable, perfect for molding |
| Skull-shaped silicone molds | Shape the cheese | Choose small molds for bite-sized skulls |
| Olive oil or non-stick spray | Prevent sticking | Lightly brush molds for easy release |
| Salt & pepper | Basic seasoning | Optional, for enhancing natural flavor |
| Garlic powder or Italian seasoning | Extra flavor lift | Adds a savory, herby kick |
| Red pepper flakes (optional) | For spooky “bloody” detail | Use sparingly |
| Fresh herbs (basil, parsley) | Garnish | Adds color contrast on boards |
| Small spoon or spatula | Pressing cheese into molds | Ensures clean edges |
| Refrigerator/freezer | Chilling | Helps skulls hold their shape until serving |
Step-by-Step DIY Preparation
Step 1: Prep the molds
Wash and dry your silicone skull molds. Lightly brush inside with olive oil or spray with non-stick spray.
Step 2: Soften the mozzarella
Drain the mozzarella balls and pat them dry. Microwave a few at a time for 15–20 seconds until soft and stretchy.
Step 3: Fill the molds
Spoon the warm mozzarella into each cavity, pressing firmly so that it fills details like eye sockets and jawline.
Step 4: Season as you go
Add pinches of salt, pepper, or seasonings. Place tiny red pepper flakes in eyeholes for an eerie touch.
Step 5: Chill to set
Refrigerate for 45 minutes or freeze briefly for 10–15 minutes.
Step 6: Remove carefully
Pop out gently once chilled, trimming edges if needed.
Step 7: Store until serving
Cover and refrigerate until ready. Work in small batches to keep mozzarella soft enough for pressing.
Adding Mozzarella Skulls to Halloween Pasta
Halloween pasta becomes unforgettable when you add mozzarella skulls. They look dramatic against black squid-ink pasta, beet-red noodles, or dark marinara spaghetti. The bright white cheese pops against the bold colors, becoming a spooky edible garnish.
- Add black olives for a creepy “eyeball” look in the pasta.
- Sprinkle jagged basil pieces for a witchy garnish.
- Drizzle chili oil for eerie “blood-red” accents.
Serve in a huge cauldron-style bowl for sharing, or in individual spooky plates. Either way, mozzarella skulls guarantee your Halloween pasta is the highlight of the meal.
Mozzarella Skulls on Meat and Cheese Trays
A Halloween charcuterie board transforms instantly when mozzarella skulls join the mix. They serve as playful, edible décor among meats, crackers, and fruits. Guests will want photos before diving in.
- Classic Spooky Spread: Layer salami or prosciutto spirals and tuck skulls between them. Add bat or pumpkin-shaped crackers.
- Creepy Olive Scene: Surround cheese skulls with olives to mimic a graveyard look. Garnish with rosemary sprigs resembling twigs.
- Bloody Red Accents: Scatter cherry tomatoes, peppers, or pomegranate seeds for a blood-splatter style effect.
- Color Contrast Plate: Add dark grapes, figs, or charcoal crackers for eye-catching contrast.
Think of mozzarella skulls not just as food but as centerpiece decorations anchoring your entire Halloween themed food board.
Frequently Asked Questions
Can I use shredded mozzarella instead of fresh?
Fresh mozzarella molds better and holds its shape. Shredded cheese lacks the same texture, but you can experiment by melting it together for a softer mold.
Do I need special molds for skull shapes?
Yes. Silicone skull molds are ideal and easy to find online during Halloween. They release cheese without cracks.
How long will mozzarella skulls hold their shape on a board?
About 2–3 hours at room temperature. Keep refrigerated until close to serving time.
Can these be made ahead for a party?
Yes, prepare up to 24 hours in advance and store in a sealed container in the refrigerator.
Will kids enjoy these, or are they too spooky?
Kids usually find them fun! Adjust presentation—colorful pasta for lighthearted parties, or eerie setups for teens and adults.
Conclusion
DIY mozzarella skulls are simple, flavorful, and the perfect spooky upgrade for Halloween gatherings. From eerie bowls of Halloween pasta to eye-catching meat and cheese trays, they’re guaranteed conversation starters. What began as a playful experiment can quickly become a cherished Halloween tradition in your home too. Gather mozzarella, molds, and your creativity—these skulls will leave guests snapping photos and happily snacking on your creepy-cool creation.