Halloween is that magical time of year when food can be spooky, silly, and surprisingly adorable. If you’re looking for DIY Halloween food ideas that are both fun and crowd-pleasing, mozzarella skulls are a must-try. These bite-sized cheesy creations balance creepy and cute, making them a star addition to any Halloween gathering.
Perfect for adding to a cute Halloween charcuterie board, setting out on a buffet table, or serving as a playful appetizer, mozzarella skulls are as versatile as they are festive. In this post, you’ll discover the story behind this idea, the full recipe, creative serving tips, and FAQs.

A Spooky-Fun Memory with DIY Mozzarella Skulls
The first time I made mozzarella skulls for Halloween, I wasn’t entirely sure what to expect. I had just bought a set of silicone skull molds on a whim, thinking they’d be a quirky way to serve snacks at my annual Halloween party. That year, I had already gone all out with spider web decorations, orange fairy lights, and bowls of candy, but I wanted a savory food that would feel just as festive.
When I popped the mozzarella skulls out of the molds, I couldn’t stop laughing—some looked spooky and realistic, while others had a goofy, lopsided charm. On the snack table, they immediately stole the spotlight. Guests gravitated toward them, laughing as they picked up tiny “skull heads” made of cheese and pairing them with crackers or olives. Kids loved them because they were funny and not too scary, while adults enjoyed the clever twist on simple cheese bites.
That night, amidst all the bowls of chips and pumpkin-shaped cookies, it was the mozzarella skulls that sparked the most conversation. They weren’t just food—they were part of the fun. Ever since that party, they’ve become a go-to recipe I pull out every October, and they’ve never failed to delight a crowd.
Print
DIY Mozzarella Skulls: Creepy-Cute Food for Halloween
- Total Time: 1 hour 25 minutes
- Yield: Serves 6–8 1x
Description
Transform fresh mozzarella into spooky-cute skulls using simple molds and a few ingredients. Perfect for Halloween charcuterie boards, appetizers, or buffet displays, these mozzarella skulls are easy to make, budget-friendly, and sure to delight guests of all ages.
Ingredients
Instructions
1. Lightly grease silicone skull molds with olive oil and place on a baking sheet.
2. Combine shredded mozzarella and cream cheese in a microwave-safe bowl; microwave in 20–30 second intervals, stirring between until smooth and stretchy.
3. Stir in salt, garlic powder, and Italian seasoning, if using.
4. Spoon the melted cheese mixture into each skull cavity, pressing into details with a spoon or toothpick.
5. Chill molds in the refrigerator for 1–2 hours until firm, or bake at 350°F (175°C) for 8–10 minutes for warm skulls.
6. Allow molds to cool slightly (if baked) or remove directly from fridge, then gently pop out each mozzarella skull.
7. Arrange skulls on a platter or charcuterie board; serve with crackers, olives, marinara dip, or as toppings on pasta and pizza.
- Prep Time: 15 minutes
- Cook Time: 10 minutes
Nutrition
- Calories: 180
- Sodium: 320
- Fat: 14
- Carbohydrates: 2
- Protein: 11
Why DIY Halloween Food Ideas Always Work
There’s something magical about DIY Halloween food ideas. Whether it’s turning hot dogs into “mummies” or making candy bark look like monster eyes, these creative touches add laughter and surprise to the celebration. Mozzarella skulls, in particular, are a fantastic example because they hit all the right notes: they’re easy to make, budget-friendly, and visually striking.
Unlike elaborate Halloween desserts, mozzarella skulls take just a few ingredients and a simple mold, but they transform an ordinary snack into a centerpiece. They fit perfectly on a Halloween buffet food spread, nestled among dips and bites, or as stars on a cute Halloween charcuterie board. And the best part? You don’t need to be a pro chef—just a little creativity and a sense of fun.
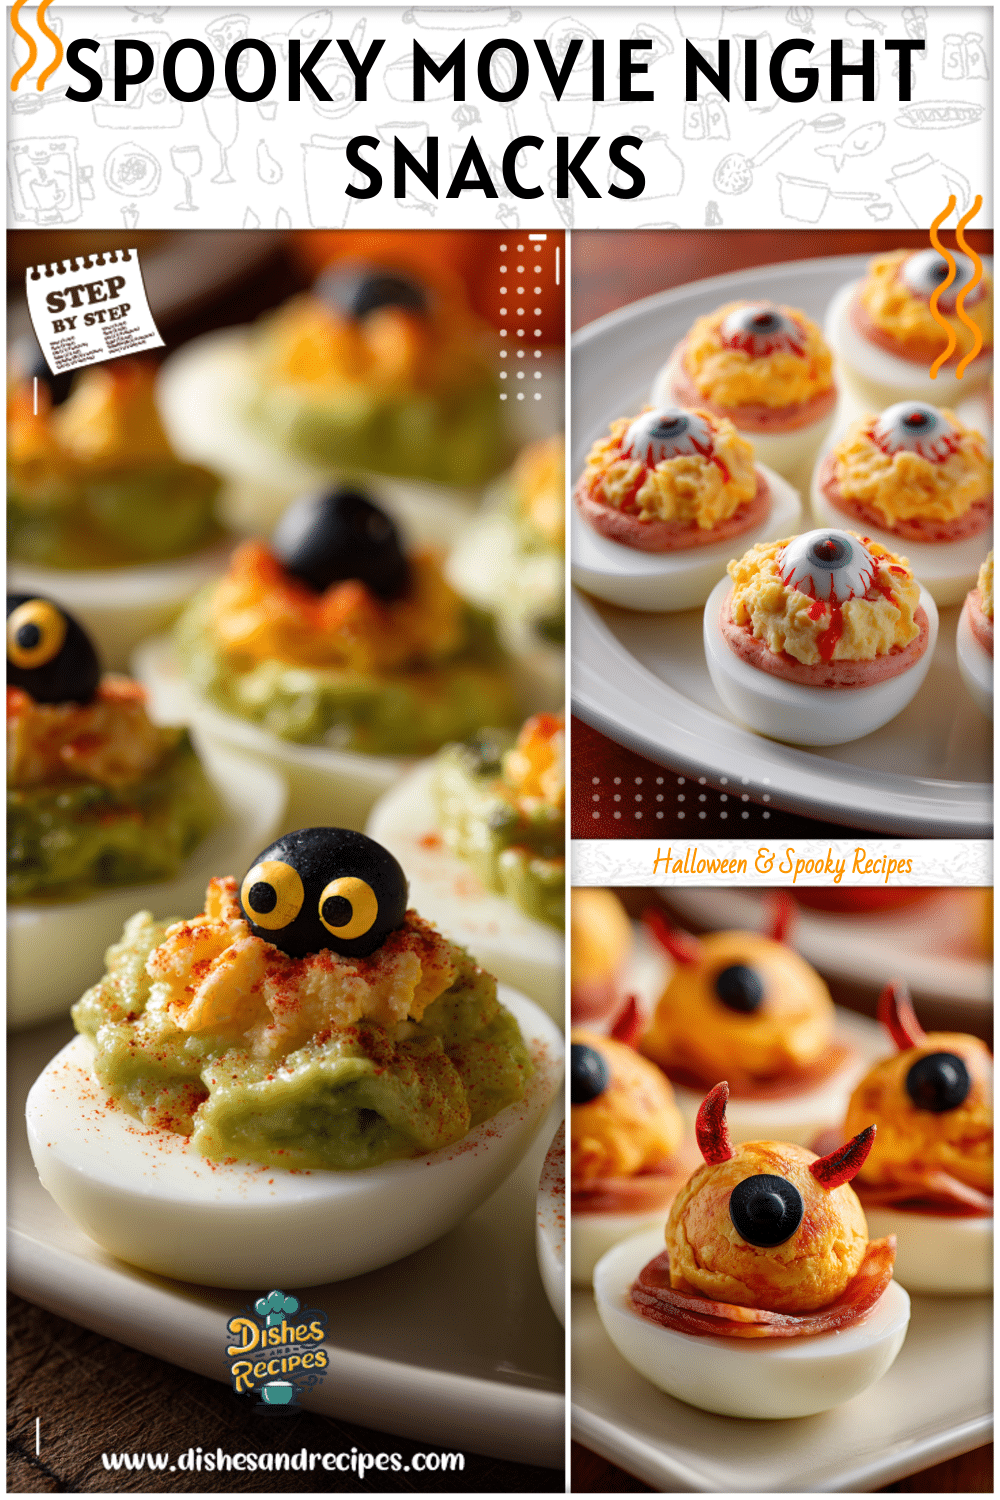
Whether you’re hosting a big party or just want a spooky appetizer for a family movie night, these mozzarella skulls prove how playful food can elevate the Halloween spirit.
Ingredients and Tools You’ll Need
Making mozzarella skulls doesn’t require a huge investment—just a few simple ingredients and the right mold will set you up for success. Mozzarella works beautifully because it’s mild, melts well, and holds shape once cooled. Here’s everything you’ll need:
| Ingredients | Quantity | Notes / Options |
|---|---|---|
| Fresh mozzarella cheese | 2 cups, shredded | Pre-shredded works, but fresh mozzarella grated by hand melts more smoothly |
| Cream cheese (softened) | 2 tbsp | Helps the mozzarella bind and take shape in the molds |
| Salt | ½ tsp | Adjust to taste |
| Garlic powder (optional) | ¼ tsp | For a savory kick |
| Italian seasoning (optional) | ¼ tsp | Adds flavor and aroma |
| Olive oil (light spray) | As needed | For lightly greasing molds, so skulls pop out easily |
| Tools | Purpose |
|---|---|
| Silicone skull molds | Essential for shaping skulls into “creepy-cute” forms |
| Microwave-safe mixing bowl | For melting and combining cheese |
| Spoon or spatula | For filling molds evenly |
| Baking sheet | To stabilize silicone mold in oven (if baking) |
| Toothpicks or skewer | Helpful for pressing cheese into mold crevices |
Tip: Skull molds come in different sizes—mini (bite-sized) versions are perfect for a Halloween buffet or cute Halloween charcuterie board, while larger molds can make centerpiece appetizers.
Step-by-Step Preparation Method
- Prep the Molds: Lightly spray or brush skull molds with olive oil. Place them on a flat baking sheet so they stay stable while filling.
- Melt the Cheese: In a microwave-safe bowl, combine shredded mozzarella and cream cheese. Microwave in 20–30 second intervals, stirring until smooth and stretchy.
- Season the Cheese (Optional): Mix in salt, garlic powder, or herbs to boost flavor.
- Fill the Molds: Spoon cheese into mold cavities, pressing into crevices with a spoon back or toothpick to capture skull details.
- Chill or Bake: For cold skulls, refrigerate 1–2 hours. For hot, melty skulls, bake at 350°F (175°C) for 8–10 minutes.
- Unmold with Care: Gently press the mold back to release skulls, keeping jawline and sockets intact.
- Style and Serve: Arrange on a platter, charcuterie board, or dip them into “bloody” marinara sauce.
Pro Tips for Creepy-Cute Success
- Fresh grated mozzarella melts smoother than pre-shredded.
- Mini molds make quick bites, larger molds create centerpiece skulls.
- Use dark boards for visual pop, and accent with pumpkins or berries.
- Mix in pesto for green skulls or paprika for pumpkin-orange ones.
Creating a Cute Halloween Charcuterie Board
One of the most effective ways to showcase your mozzarella skulls is by building a cute Halloween charcuterie board. A well-arranged board isn’t just delicious—it doubles as a decorative centerpiece that immediately grabs attention at your party.
Place the skulls in the center, then build out with savory and sweet accompaniments:
- Olives as “eyeballs.”
- Crackers and breadsticks shaped like “bones.”
- Salami roses for gothic flair.
- Fruit like grapes, figs, or berries to add balance.
- Halloween-themed candies for a playful mix.
Making Spooky Entrees and Halloween Buffet Food Ideas
These cheesy skulls don’t have to stay on a platter—they elevate entrees too:
- Top baked spaghetti or ziti with skulls, broil until they melt into sauce.
- Use as pizza toppings, adding olives for scary eyes.
- Serve warm with marinara or creamy dips.
- Create edible centerpieces on buffet tables by surrounding large skulls with snacks.
Elevated on trays with tiny pumpkins or cobweb props, they stand out and tie your Halloween food spread together.
Frequently Asked Questions
How far in advance can I make mozzarella skulls?
Prepare up to two days ahead if serving cold. Store in an airtight container in the fridge.
Can I use other cheeses instead of mozzarella?
Yes. Softer cheeses like Monterey Jack or provolone mold easily; cheddar works but may crumble more.
Do I need special skull molds?
Molds give the clearest shape, but you can also press cheese into cookie cutters or shape round “monster heads.”
What’s the best way to store leftovers?
Keep them refrigerated in an airtight container. Eat within 2–3 days.
Can kids help make mozzarella skulls?
Yes, kids can help fill molds and pop them out, while adults handle hot steps.
Conclusion
DIY mozzarella skulls are the ultimate combination of creepy and cute, perfect for Halloween parties, movie nights, or themed charcuterie boards. Simple, affordable, and flexible, they turn ordinary cheese into a playful snack that doubles as decoration. Whether starring on a cute Halloween charcuterie board, topping spooky entrees, or anchoring Halloween buffet food ideas, these skulls are unforgettable.
Bring them to your next gathering and watch them spark conversation and smiles. This is one DIY Halloween food idea that may just become your favorite festive tradition year after year.