Halloween is the perfect time to mix a little nostalgia with festive fun—and what better way than with themed snacks that make everyone smile? In this article, we’ll explore how to create Easy Ghostbusters Marshmallows for Halloween Parties that are not only simple to make but also guaranteed crowd-pleasers. These treats double as delicious desserts and as a lighthearted DIY activity for both kids and adults. Whether you’re hosting a big Halloween bash or a cozy movie night with friends, these ghostly marshmallow creations bring together fun, flavor, and a little nod to one of the most iconic spooky comedies of all time.

Ghostbusters Inspiration & Story
Nostalgia of Ghostbusters and Treats
For many of us, Ghostbusters wasn’t just a movie—it was a moment in time. I still remember the first Halloween when my family rented Ghostbusters on VHS, grabbed a big blanket, and turned the living room into a makeshift theater. Surrounded by bowls of popcorn, candy, and other movie snacks, there was something extra magical about watching ghostly adventures while also indulging in treats. That sense of nostalgia still lingers and makes Ghostbusters-themed parties such a unique way to bring people together.
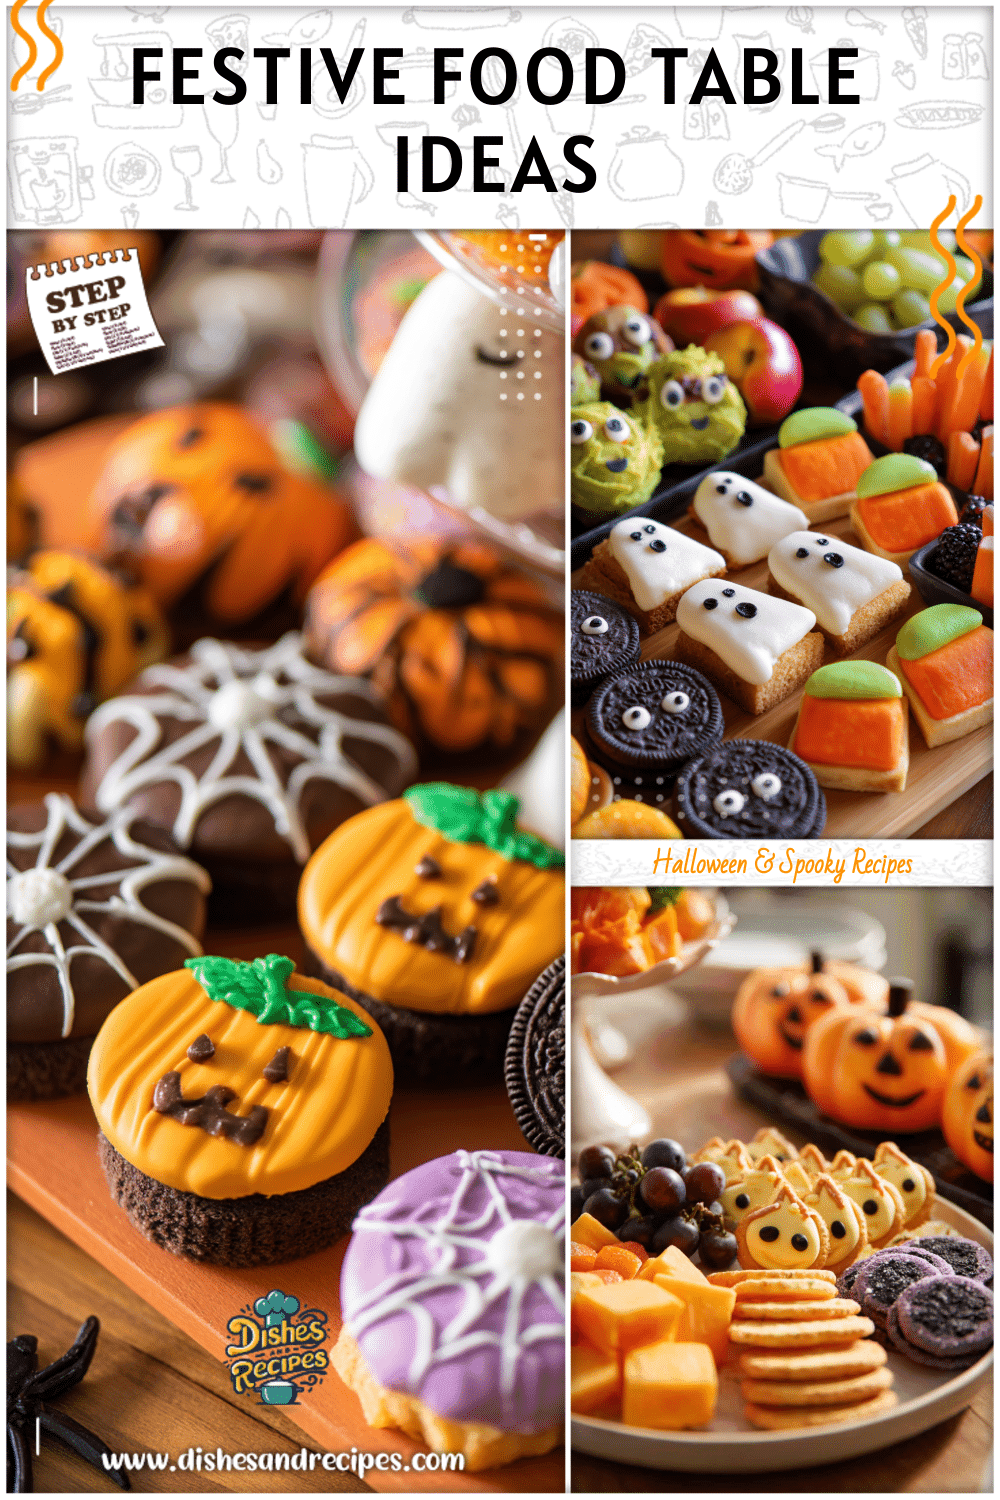
When you think about hosting a Ghostbusters party, food plays a huge role in setting the atmosphere. It’s not only about re-creating the thrill of the movie but also about tapping into those childlike moments of wonder and laughter. Adding treats shaped like ghosts, slime-green desserts, or marshmallows decorated to resemble the Stay Puft Marshmallow Man brings the nostalgic vibe back to life—and lets you connect the fun of the movie with the joy of creating themed food.
So why marshmallows? The answer is both fun and symbolic. If you’re a fan of the Ghostbusters franchise, you know the famous Stay Puft Marshmallow Man—a giant, slightly goofy monster made entirely of marshmallow who turned into one of the film’s most memorable icons. It’s the perfect inspiration for Halloween food that’s playful, recognizable, and ridiculously simple to make.
Print
Easy Ghostbusters Marshmallows for Halloween Parties
- Total Time: 25 mins
- Yield: 12 marshmallow pops 1x
Description
Fun and festive marshmallow treats inspired by the Stay Puft Marshmallow Man. Quick to make, decorate, and serve at your Halloween party, these ghostly marshmallow pops double as a DIY activity for kids and adults.
Ingredients
Instructions
1. Line a baking sheet with parchment paper.
2. Insert a lollipop stick into the base of each marshmallow.
3. In separate microwave-safe bowls, melt white candy melts and green candy melts in 20-second intervals, stirring until smooth; add oil if needed.
4. Dip each marshmallow halfway or fully into white candy melts, letting excess drip off; place on parchment to set.
5. Drizzle or dip some marshmallows in green candy melts for a slime effect; return to parchment.
6. Once coatings set, use edible markers to draw ghostly faces or Stay Puft expressions.
7. Add sprinkles or candy eyes while coating is still tacky, if desired.
8. Allow decorated marshmallows to dry completely, about 15–20 minutes.
9. Store in an airtight container at room temperature until serving.
- Prep Time: 20 mins
- Cook Time: 5 mins
On a practical level, marshmallows are a fantastic base for easy Halloween food. They’re soft, easy to decorate, and can be turned into countless designs with just a few edible markers or candy decorations. Unlike some complicated baked goods, there’s almost no mess involved, and even younger kids can decorate them safely. That makes them an ideal activity during a kids’ party where DIY creativity becomes just as important as the snack itself.
Best of all, marshmallows are customizable. You can dip them into chocolate, coat them with green candy melts for a slime-inspired look, or stick them on lollipop sticks for easy marshmallow pops. For parents and party hosts, this versatility is gold—it means you can prepare a batch in advance or let guests jump in on the decorating fun. At the end of the day, marshmallows aren’t just treats; they’re edible canvases that keep your Halloween party lively, engaging, and stress-free.
Ingredients and Tools for Ghostbusters Marshmallows
Simple Ingredients You Need
One of the best things about making Easy Ghostbusters Marshmallows for Halloween Parties is how little you actually need to get started. These are not complicated desserts, which makes them perfect when you’re looking for DIY treats that don’t require hours in the kitchen. Below is a handy starting list:
- Large marshmallows – the star of the show, acting as your edible canvas.
- Candy melts or chocolate – white, green, or black candy melts work perfectly depending on the look you want. (Green is extra fun for “slime” inspired designs!)
- Edible food markers – easy for drawing cute Stay Puft faces, spooky ghosts, or silly monster designs.
- Lollipop sticks or skewers – to turn them into marshmallow pops for easy snacking.
- Sprinkles or candy eyes – optional, but they add personality with almost no effort.
- A small amount of oil or shortening – to smooth out melted chocolate or candy melts.
The beauty of these ingredients is how flexible they are. For instance, if you don’t have candy melts, you can use white chocolate with a little food coloring. No lollipop sticks? Simply serve the marshmallows in decorative cupcake liners. Even if you’re working with a limited pantry, you’ll find substitutions that still let you create fun Halloween food without running to the store for specialty items.
Tools that Make Decorating Easy
Along with simple ingredients, you only need a few kitchen tools to bring these ghostly marshmallows to life:
- Microwave-safe bowl or mug – perfect for melting candy melts or chocolate quickly.
- Piping bags or zip-top bags – these make it easy to drizzle melted chocolate or add details like slime or colored accents.
- Skewers or toothpicks – great for dipping marshmallows into melted candy without messing up the decorated sides.
- Food coloring pens – an effortless way to draw little faces directly onto the marshmallows.
- Wax paper or parchment paper – gives you a non-stick surface for decorated marshmallows to set without smudging.
A great part about this step is that most of these tools are safe for kids to use, especially edible markers and lollipop sticks. That means your marshmallow decorating can double as an activity station during a kids’ Halloween party—half snack-making, half art project.
Quick Prep Tip: Before you dive in, lay out all your ingredients and tools on a clean counter or party table. Separate marshmallows from toppings, keep candy melts ready to be microwaved, and place parchment paper on a tray in advance. This small step makes decorating smoother, keeps the process fun instead of messy, and ensures your marshmallows look their best when it’s time to show them off.
Step-by-Step Guide to Making Easy Ghostbusters Marshmallows
Preparing and Decorating Marshmallows
Making these ghostly marshmallows is as fun as it is simple. You don’t have to be a skilled baker—just follow these easy steps and you’ll have treats that look great on any Halloween table.
- Set up your workspace – Line a tray or cookie sheet with parchment or wax paper. This will keep your marshmallows from sticking while they dry.
- Insert sticks – Push lollipop sticks or skewers into the base of each marshmallow. This makes dipping and decorating cleaner and easier.
- Melt the candy coating – Place candy melts or chocolate in a microwave-safe bowl and heat in short intervals, stirring until smooth. Add a touch of oil or shortening for a glossy finish.
- Dip and coat – Dip marshmallows halfway or fully, depending on the look you’re going for. Shake off excess coating and place them on the parchment to set.
- Decorate spooky faces – Once the coating sets, use edible markers to draw Stay Puft-style grins, silly ghost faces, or monster expressions. You can also press on candy eyes or decorate with sprinkles.
- Let them dry – Allow the decorated marshmallows to rest for about 15–20 minutes until fully set.
Tips for Success:
- If you’re drawing faces, keep designs simple—just big eyes and playful smiles look both spooky and cute.
- For an extra Halloween flair, drizzle green candy melts across the marshmallows to mimic Ghostbusters “slime.”
- Making these ahead of time? Store them in an airtight container at room temperature for up to two days. That way, your Halloween party prep is stress-free.
Fun Ideas for Serving at Parties
Once your marshmallows are ready, the fun doesn’t stop at decorating—presentation can take them to the next level at a Ghostbusters party. Here are some easy and creative serving ideas:
- Marshmallow Pops – Serve them on lollipop sticks in a tall glass or jar for a grab-and-go snack. Tie small Halloween ribbons around each stick for an extra festive touch.
- Cupcake Toppers – Place decorated marshmallows on top of frosted cupcakes for an instant themed dessert upgrade.
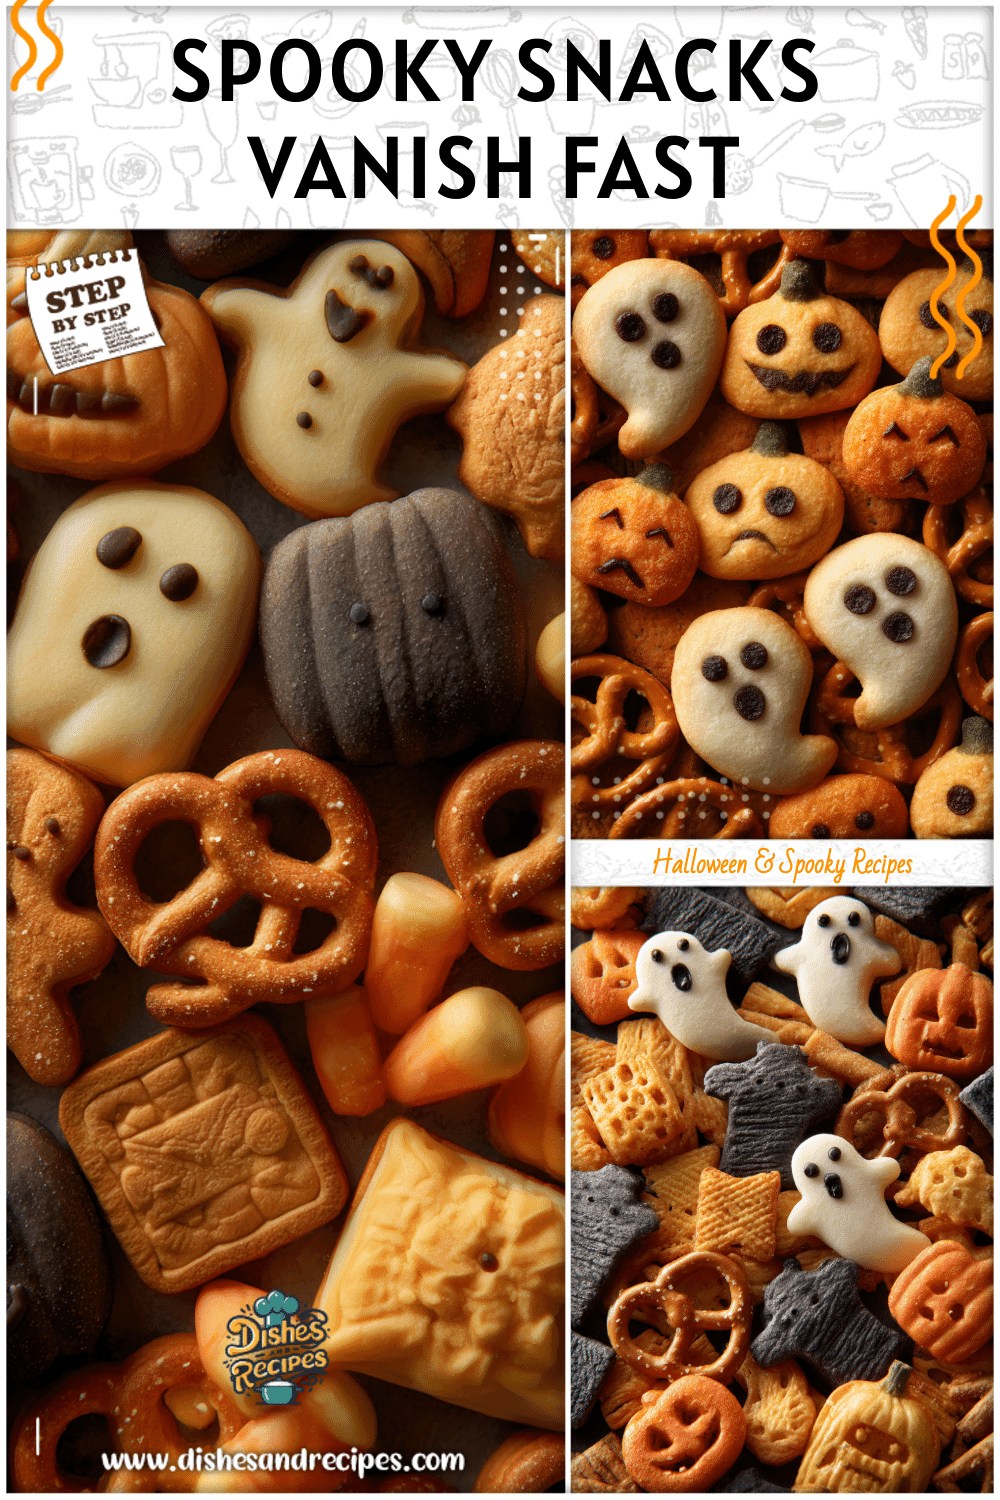
- Snack Bowls – Mix decorated marshmallows into a large candy bowl along with popcorn, pretzels, and chocolate pieces for a colorful snack mix.
- Centerpiece Treats – Arrange marshmallow pops in foam blocks covered with spooky paper or place them in mini cauldrons as edible party décor.
| Style | Looks Like | Best For | Party Impact |
|---|---|---|---|
| Plain Decorated Marshmallow | Just faces drawn with food marker | Kids’ activities | Simple, fun DIY |
| Dipped Marshmallow Pops | Half or fully dipped in chocolate | Individual snacks | Eye-catching and neat |
| Decorative Sticks | Ribbon, themed straws, or glitter sticks | Dessert table display | Adds festive flair |
FAQs and Conclusion
Frequently Asked Questions
Can I make these marshmallows ahead of time?
Yes! These Ghostbusters marshmallows can be made one to two days in advance. Simply store them in an airtight container at room temperature. Avoid refrigeration, as marshmallows can get sticky from moisture. Making them ahead helps you focus on other party prep and ensures you’ll have ready-to-go themed treats.
What if I don’t have edible markers?
No need to worry—there are several alternatives. You can use melted chocolate applied with a toothpick or piping bag, or add candy eyes and sprinkles for character. Even a basic drizzle of colored candy melts can create ghostly or slimy-inspired designs without needing food-safe markers.
How can I store the marshmallows before Halloween parties?
Once decorated and fully set, place them in a single layer inside an airtight container. If stacking, separate each layer with wax or parchment paper. Store at room temperature to keep the coatings crisp and designs intact until serving time.
Are these marshmallows safe for kids to decorate themselves?
Definitely! In fact, decorating marshmallows is one of the easiest and safest DIY treat activities for children. Using edible markers, sprinkles, and candy eyes is completely mess-free compared to baking projects. For younger children, you can pre-dip the marshmallows so they only need to decorate the faces and designs.
What other themes can I create with similar marshmallow treats?
The beauty of marshmallow decorating is how adaptable it is. Beyond a Ghostbusters party, you can design mummies (using white chocolate drizzles), Frankenstein faces (green candy melts with candy eyes), or classic pumpkins (orange candy coating with pretzel stick “stems”). This lets you reuse the same idea across multiple occasions without extra effort.
Conclusion
When it comes to Halloween celebrations, simple yet creative ideas always shine brightest. These Easy Ghostbusters Marshmallows for Halloween Parties combine three things everyone loves: nostalgia, tasty sweets, and hands-on fun. By drawing inspiration from the famous Stay Puft Marshmallow Man and tapping into the spirit of DIY food crafts, you get a themed treat that doubles as an activity and décor.
Whether you serve them as marshmallow pops, use them as cupcake toppers, or let guests personalize their own designs, these snacks are a guaranteed hit. They bring playful energy to your party table, while also being quick and stress-free to prepare.
So this Halloween, instead of reaching only for pre-packaged candy, try these marshmallow creations that connect beloved pop culture with festive cheer. With minimal tools, a few affordable ingredients, and a touch of creativity, you’ll have ghostly treats that guests of all ages will remember long after the party ends.