Looking for a fun and spooky Halloween dessert that’s as easy to make as it is delicious to eat? Pumpkin patch dirt cups are the ultimate kid-friendly treat that combines layers of creamy pudding, crunchy cookie “dirt,” and a playful candy pumpkin patch topping. Perfect for Halloween parties, school celebrations, or trick-or-treat gatherings, this no-bake recipe is a go-to option when you want something festive without spending hours in the kitchen.

In this post, you’ll discover the story behind Halloween dirt cups, why they’re a long-time family favorite, and exactly how to make them step by step. Whether you’re hosting a classroom party or a family Halloween night, these Halloween desserts in a cup guarantee smiles all around.
Creating a Tradition with Pumpkin Patch Dirt Cups
One of the best parts about Halloween is the mix of nostalgia and creativity it brings—and pumpkin patch dirt cups embody that feeling perfectly. When I was a kid, dirt cups were a staple at fall parties, but adding candy pumpkins on top instantly turned them into a festive Halloween masterpiece. They weren’t just regular pudding cups anymore; they looked like mini pumpkin patches straight out of a spooky storybook.
Whether it was crushing cookies with a rolling pin, carefully layering pudding, or sneaking gummy worms into the “soil,” the process of making dirt cups was as enjoyable as eating them. That tradition continues today, with many families still making these treats for their little ghosts and ghouls. Kids love how playful they look, while adults enjoy the wave of nostalgia. Pumpkin patch dirt cups are not just a dessert—they’re a piece of childhood fun, reinvented for every new Halloween season.
Print
Pumpkin Patch Dirt Cups
- Total Time: 45 minutes
- Yield: 8 to 10 cups (5–6 oz each) 1x
Description
No-bake Halloween pudding cups layered with chocolate cookie “dirt,” fluffy pudding, and topped with candy pumpkins and gummy worms—easy, kid-friendly, and perfect for parties.
Ingredients
Instructions
1. Whisk pudding mix with cold milk for 2–3 minutes until thick; let stand 5 minutes.
2. Gently fold whipped topping into the pudding until smooth and fluffy.
3. Pulse cookies in a food processor (or crush in a bag) to fine crumbs.
4. Spoon a tablespoon of cookie crumbs into each clear cup, add a layer of pudding, then more crumbs; repeat to fill, finishing with crumbs on top.
5. Press 1–2 candy pumpkins into the top and tuck in gummy worms so they peek from the “soil.”
6. Chill cups for at least 30 minutes before serving. For extra crunch, sprinkle a bit of fresh crumb on top just before serving.
- Prep Time: 15 minutes
- Cook Time: 0 minutes
Nutrition
- Calories: 360 kcal
- Sodium: 280 mg
- Fat: 14 g
- Carbohydrates: 54 g
- Protein: 4 g
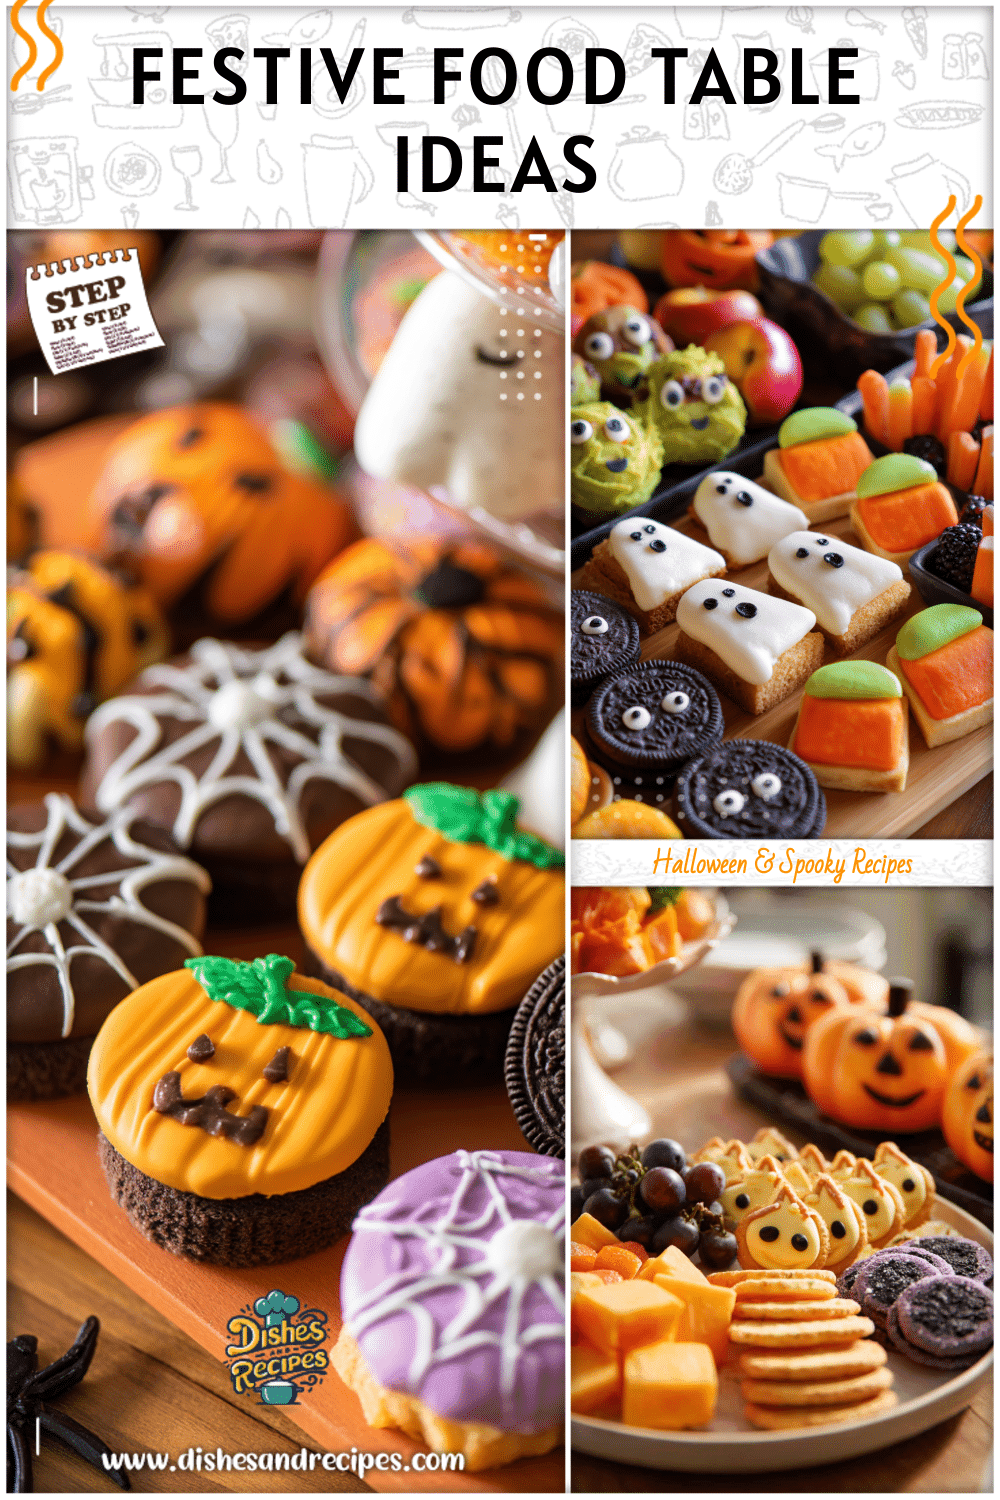
There’s a reason why Halloween dirt cups remain one of the most popular party desserts across classrooms, neighborhood gatherings, and family trick-or-treat nights. For one, they’re incredibly easy to make in large batches, which makes them ideal for serving at school parties. At the same time, they double as decoration: the clear cups show off spooky “dirt” layers that look right at home on a Halloween dessert table.
They also check every box for what kids want in Halloween desserts in a cup—chocolatey flavor, gummy worms peeking out of the “soil,” and candy pumpkins that look almost too cute to eat. The interactive look of dirt cups makes them more than food; they become part of the party’s spooky fun décor. With simple ingredients and endless variations, it’s no wonder these sweet little pumpkin patch cups continue to be a favorite year after year.
Easy Spooky Dessert Breakdown
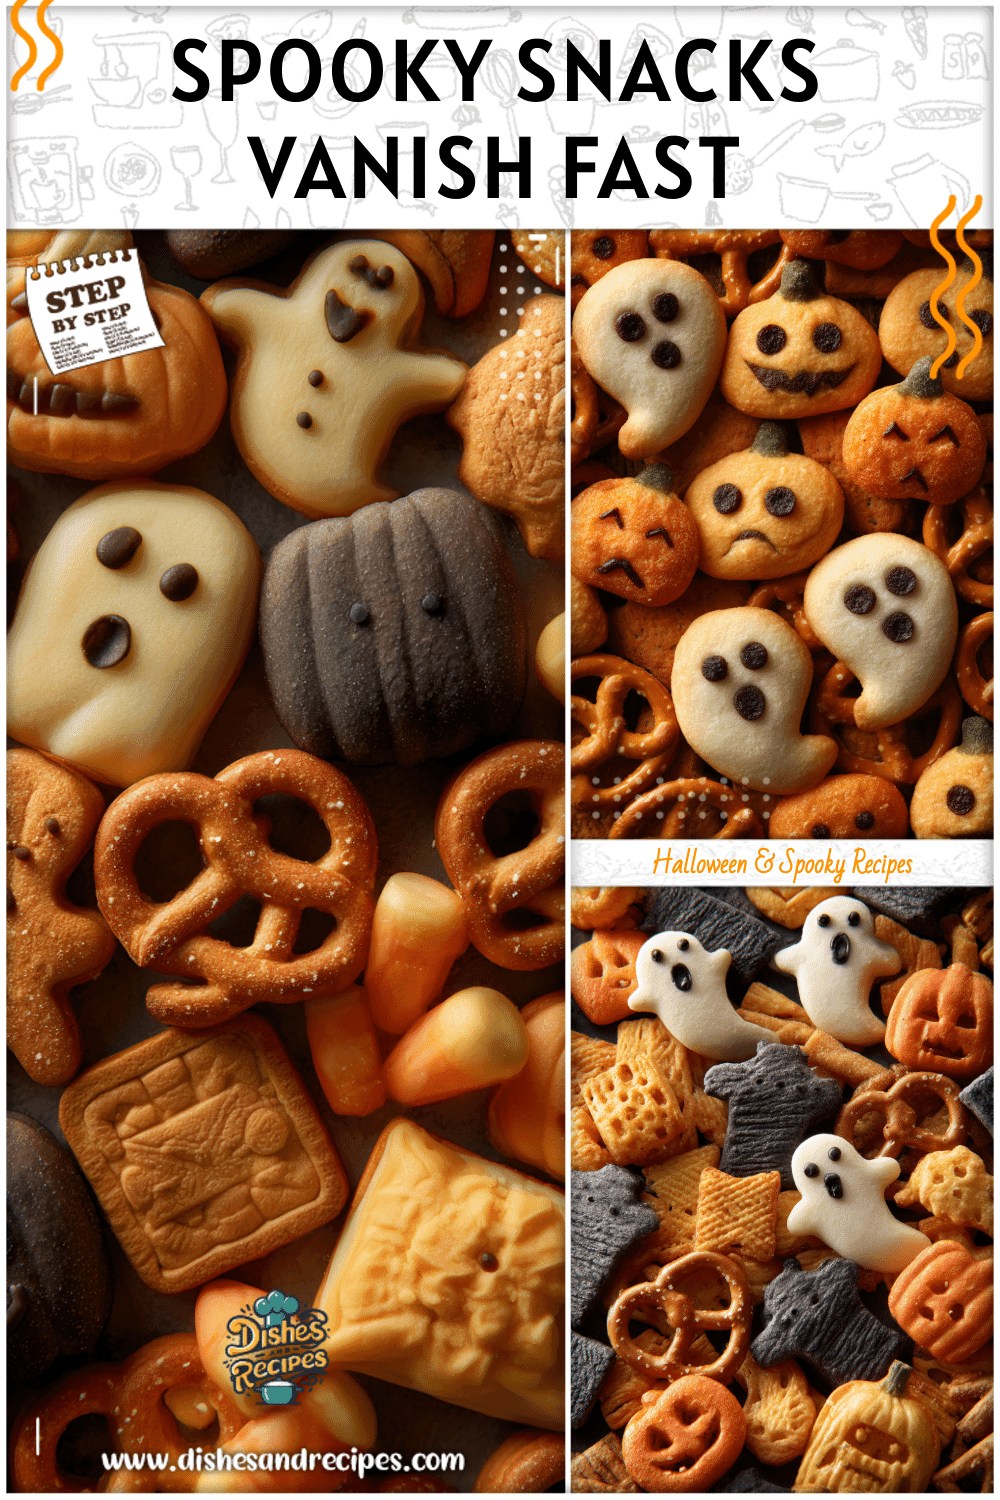
When it comes to creating spooky Halloween food for kids, few treats are simpler or more delightful than pumpkin patch dirt cups. Not only do they look festive with their “edible soil” and candy pumpkins, but they are also a no-bake recipe, which makes them easy to whip up in advance or even prepare together with children as a fun Halloween activity. To get started, you’ll need just a handful of familiar pantry staples and candy decorations that transform ordinary pudding into a Halloween pumpkin patch scene.
Ingredients That Make Dirt Cups Magical
| Ingredient | Amount (Adjust as Needed) | Purpose in the Dessert |
|---|---|---|
| Chocolate pudding mix | 2 small boxes (3.9 oz each) | The creamy base—resembles rich soil |
| Cold milk | 4 cups | Used to prepare instant pudding |
| Whipped topping (Cool Whip or similar) | 1 tub (8 oz) | Adds light, fluffy texture |
| Chocolate sandwich cookies (Oreos) | 20–25 cookies | Crushed into “dirt” crumbs |
| Candy pumpkins | About 12–15 pieces | The star decoration—forms the pumpkin patch |
| Gummy worms | Optional, 8–10 pieces | Extra spooky effect of “creatures in the soil” |
| Clear plastic cups | 8–10 servings | Show off the layers for Halloween presentation |
Tools & Preparation Method
- Mixing bowl
- Whisk (or electric mixer)
- Food processor (or rolling pin + bag for crushing cookies)
- Measuring cups
- Clear plastic or reusable serving cups
- Spoon or spatula
- Whip Up the Pudding Base: In a mixing bowl, whisk chocolate pudding mix with cold milk until smooth and thick. Let it set for 2–3 minutes.
- Fold in Whipped Topping: Gently fold whipped cream into the pudding for a fluffy, creamy texture.
- Crush the Cookies: Use a food processor or rolling pin to crush sandwich cookies into crumbs resembling soil.
- Layer the Cups: Alternate crumbs and pudding in clear cups, ending with crumbs on top.
- Decorate the Pumpkin Patch: Add 1–2 candy pumpkins and optional gummy worms for the spooky patch effect.
- Chill & Serve: Refrigerate for at least 30 minutes before serving.
Variations & Creative Ideas
Halloween is the perfect time to let your imagination run wild in the kitchen, and pumpkin patch dirt cups are one of the easiest desserts to customize. Whether you’re adapting them for classroom celebrations or spookier adult gatherings, there are endless ways to transform this recipe into something uniquely yours. Below are some of the most fun variations and presentation tricks that keep these Halloween desserts in a cup fresh, festive, and inclusive for everyone at the party.
Fun Variations for Kids and Adults
- Swap Pudding Flavors: Try vanilla with orange coloring or butterscotch. Green-tinted pudding creates a ghoulish glow.
- Spooky Mix-Ins: Use gummy spiders, candy bones, edible eyeballs, or cookie “tombstones” with edible marker inscriptions.
- Grown-Up Additions: Layer in crumbled brownies or use dark chocolate pudding for a richer taste. Add pretzel “vines” for effect.
- Diet-Friendly Options: Use gluten-free cookies, dairy-free milk alternatives, or sugar-free pudding for dietary needs when preparing food for school party settings.
Presentation Ideas for Maximum Halloween Fun
- Clear Cups are Best: Highlight layers of pudding, crumbs, and candy.
- Cupcake Liners & Labels: Add themed stickers, labels, or personal names for school functions.
- Creative Toppers: Add Halloween picks, or “Pumpkin Patch” signs for an extra festive touch.
- Vary Serving Sizes: Use large dessert cups or mason jars for family gatherings, and 5–6 oz cups for schools for easier handling and portion control.
FAQ
1. Can I make pumpkin patch dirt cups ahead of time?
Yes, prepare up to 24 hours in advance. Add decorations closer to serving to avoid bleeding colors.
2. How do I store Halloween dirt cups?
Cover with plastic wrap or store in airtight containers in the refrigerator for 2–3 days.
3. Can I use sugar-free pudding and cookies?
Yes, sugar-free versions create the same soil effect and make them a healthier trick or treat food option.
4. How do I keep the cookie crumbs crunchy?
Sprinkle a light layer of fresh cookie crumbs just before serving to keep the texture crisp.
5. What’s the best serving size for kids at a school party?
Small 5–6 oz clear cups are perfect portions for kids, easy to handle, and reduce waste.
Conclusion
Pumpkin patch dirt cups are more than just treats—they’re traditions that bring joy, creativity, and nostalgia to Halloween. With simple steps, fun customization options, and a look that doubles as décor, they’re ideal for food for school party settings, trick-or-treat gatherings, and cozy nights with family. If you’re looking for spooky Halloween food for kids that’s festive, delicious, and delightfully playful, this recipe is the perfect choice. Serve these cups at your next event and let everyone enjoy their own little pumpkin patch this season!