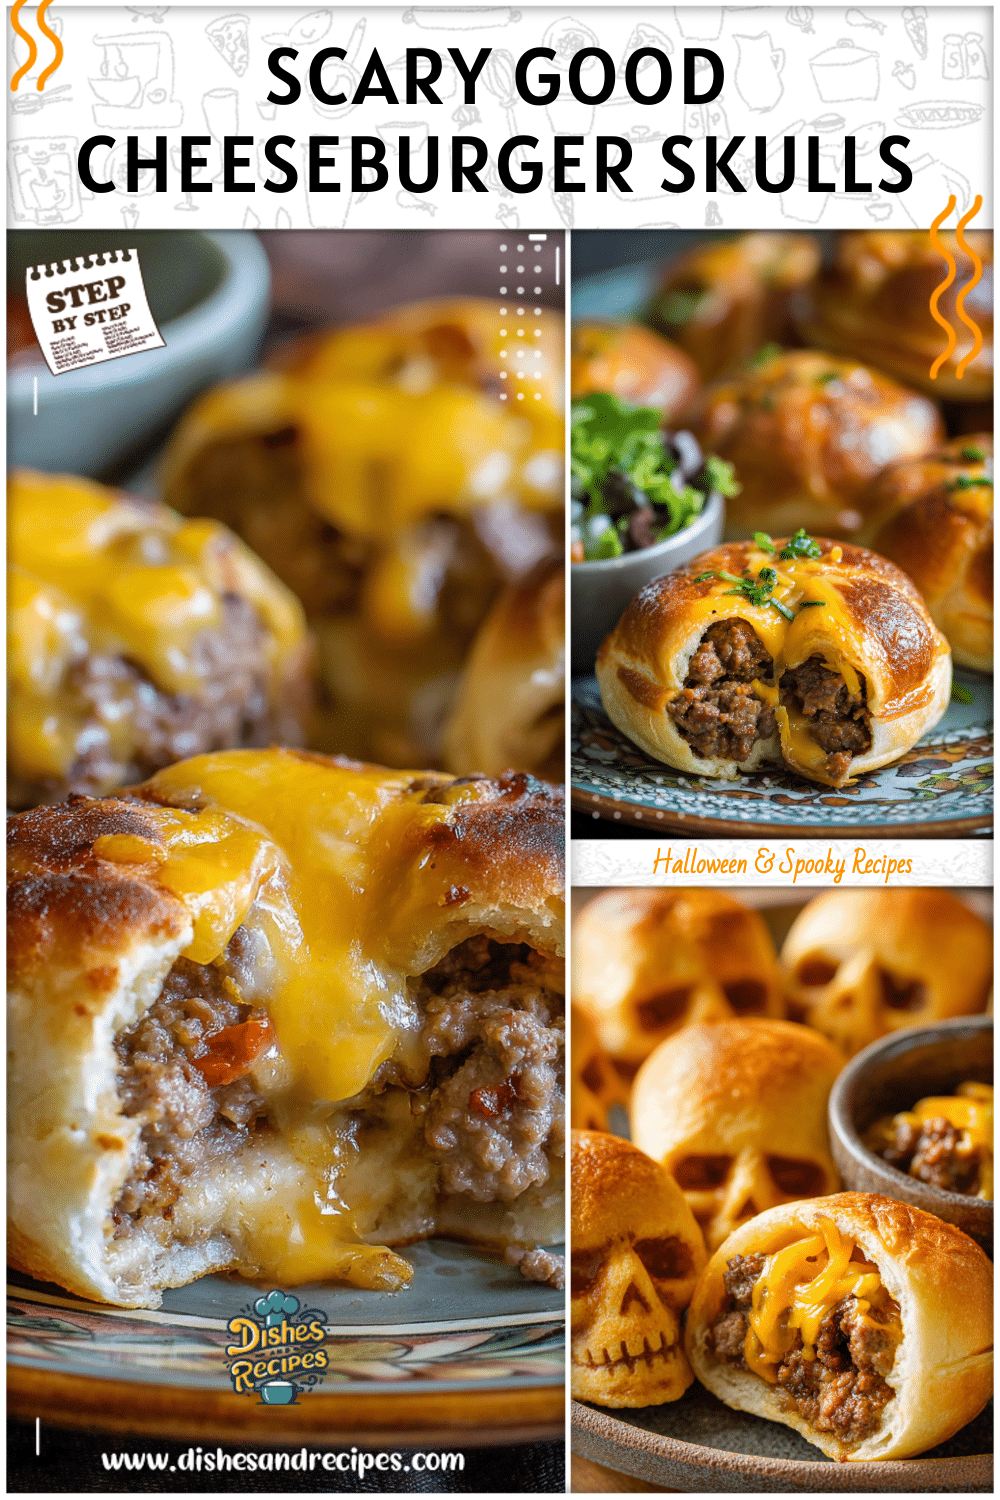
Halloween is the time of year when food becomes part of the fun, and nothing captures the spirit better than spooky yet tasty creations. That’s why this Spooky Season Treats: Cheeseburger Skulls Recipe is such a hit—it’s equal parts festive and flavorful. In this article, we’ll explore the origin of this creepy-cool dinner idea, walk through the ingredients and tools, provide step-by-step preparation instructions, and answer common FAQs so you can master it at home. If you’re searching for Halloween food dinner main dishes that are unique and memorable, this recipe is a must-try.
A Halloween Dinner Memory
One of my favorite Halloween memories is gathering in the kitchen with family, laughter echoing while we turned simple meals into ghoulish delights. Among the cupcakes decorated like spiders and the bowls of candy corn, we always wanted something hearty to serve for dinner before trick-or-treat adventures began. That’s when cheeseburger skulls became part of our Halloween spread. Using ground beef, gooey cheese, and just enough creativity, these little skull-shaped burgers quickly turned into a yearly tradition. They fit perfectly among other Spooky Season Treats and soon earned their spot as one of our go-to Ground Beef Halloween Recipes. Every October, the tradition feels like reliving those family nights—fun food, spooky presentation, and lots of happy (and sometimes messy) faces.
Halloween dinners are about more than just food—they’re about atmosphere. Skull-shaped cheeseburgers bring a playful, slightly eerie twist to the table that always delights kids and adults alike. They’re especially great if you have picky eaters in the group; after all, who can resist a burger stuffed with melted cheese and served in a spooky way? These skulls go beyond taste—they double as edible decorations, adding to the overall Halloween vibe. Whether you’re throwing a themed party or enjoying a quiet meal at home before heading out to trick-or-treat, these meaty little sculptures prove that festive food presentation can make dinner just as magical as a carved pumpkin glowing on the porch.
At the heart of this Cheeseburger Skulls Recipe is a classic comfort-food combo: juicy ground beef, melted cheese, and a touch of seasoning. The fun comes from how these simple ingredients are presented. If you’ve been searching for reliable Ground Beef Halloween Recipes, this one balances spooky charm with familiar flavors everyone already loves.
Print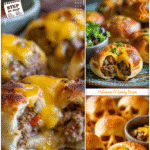
Spooky Season Treats: Cheeseburger Skulls
- Total Time: 35 minutes
- Yield: 4 servings 1x
Description
These spooky cheeseburger skulls combine juicy seasoned ground beef, melted cheese, and a playful presentation perfect for Halloween dinners or parties. Using a skull-shaped mold, you can create eerie yet delicious main dishes that delight kids and adults alike.
Ingredients
Instructions
1. Preheat oven to 375°F (190°C) and lightly spray the skull-shaped mold with cooking spray.
2. In a skillet over medium heat, brown the ground beef, breaking it into small pieces as it cooks.
3. Add diced onion, garlic powder, smoked paprika, salt, and pepper; stir until onions are translucent.
4. Stir in ketchup and half of the shredded cheese until well combined and cheese begins to melt.
5. Spoon the beef mixture into each cavity of the mold, pressing gently to fill all details.
6. Sprinkle remaining cheese on top of each skull for extra gooeyness.
7. Bake for 18–22 minutes until beef is cooked through and cheese is bubbly.
8. Allow skulls to cool for 5 minutes, then gently remove from the mold and serve with additional ketchup for ‘bloody’ drips.
- Prep Time: 15 minutes
- Cook Time: 20 minutes
What You’ll Need for Cheeseburger Skulls
- Ground beef (about 1 pound, 80/20 ratio works best for juiciness).
- Cheese – cheddar for a sharp bite, mozzarella for a gooey melt, or mix both.
- Onion – diced fine for flavor and texture.
- Seasonings – garlic powder, salt, pepper, and optional smoked paprika for depth.
- Ketchup or sauce mixture – gives the filling that classic cheeseburger tang.
- Pastry or biscuit dough (optional) – for wrapping or creating a more structured crust if desired.
Substitutions for different diets:
- Swap ground beef for ground turkey or chicken if you prefer something lighter.
- Go meatless by using a plant-based protein crumble or black bean mix—these hold together well in the molds and keep the festive feel.
- Cheese variations: try pepper jack for a kick, or dairy-free alternatives for anyone with dietary restrictions.
Tools That Make the Recipe Work
To bring these spooky delights to life, the right kitchen tools matter almost as much as the ingredients. The star of the show is the skull-shaped baking mold—without it, you’ll miss the full dramatic effect. These molds are usually made of silicone or oven-safe metal, and the detail they add is what makes your dish truly Halloween-ready.
- A mixing bowl for combining ground beef and seasonings.
- Spatulas or spoons for stirring and stuffing.
- A standard oven for baking.
- Optional pastry brush if you use dough to seal or glaze your skulls.
Pro tip: If you don’t own a skull mold, you can get creative with other Halloween-themed molds (like pumpkins or monsters). While not identical, they’ll still keep the festive effect alive. Some people even shape the filling freehand, though the mold ensures structure and makes removing the skulls after baking far easier.
Making Cheeseburger Skulls for Spooky Season Treats
Preparing the Filling and Shaping the Skulls
Begin by browning your ground beef in a skillet over medium heat. Stir occasionally to break it up, and season with salt, pepper, garlic powder, and any extra spices you enjoy, like smoked paprika or chili flakes for a kick. Once the beef is cooked through, mix in diced onions and a spoonful of ketchup or burger-style sauce for that tangy, juicy flavor.
Next, add the cheese. You can fold shredded cheddar directly into the hot beef mixture so it melts evenly, or keep chunks of cheese aside to tuck into the center of each skull for a gooey surprise. This step makes every bite extra satisfying, which is why these cheeseburger skulls stand out from other Ground Beef Halloween Recipes.
Now it’s time to shape the skulls. Lightly grease your skull-shaped mold so nothing sticks. Spoon the beef mixture into each cavity, pressing gently with a spatula or your fingers to ensure every crevice is filled for defined skull features. If you’re using biscuit or pastry dough, line the molds first or cap the tops to create a handheld, crust-like version. The goal is a neat, packed filling that holds together while baking.
Baking, Removing, and Serving Cheeseburger Skulls
Once the skull molds are loaded, preheat your oven to around 375°F (190°C). Bake the cheeseburger skulls for 18–22 minutes, depending on the size of your molds and whether you used dough. Without dough, the baking time may be slightly shorter—keep an eye out for sizzling beef and melted cheese as your cues.
Removing the skulls is the trickiest step, but with the right approach, they’ll come out intact. Let them cool for 5 minutes, then gently loosen the edges with a butter knife if needed. Silicone molds usually make this process simple—just flex the mold, and the skulls should pop right out without breaking.
Now comes the fun part—presentation! Arrange your cheeseburger skulls on a platter, and for a creepy-cool effect, drizzle ketchup or tomato sauce so it looks like “bloody” drips flowing from the eye sockets or down the jawline. You can also garnish with lettuce “hair,” pickle slices as “eyes,” or place them on slider buns for heartier Halloween food dinner main dishes.
Cheeseburger Skulls Halloween Dinner Tips
Frequently Asked Questions
Q: Can I make cheeseburger skulls ahead of time?
Yes! You can fully prepare and bake them a day in advance. Store the cooled skulls in an airtight container in the fridge. When you’re ready to serve, simply reheat them in the oven at 325°F (160°C) for about 10 minutes, which helps keep the filling juicy without drying it out.
Q: What cheese works best for melting inside?
Cheddar and mozzarella are the most reliable options—cheddar gives a bold flavor while mozzarella melts extra gooey. If you want some spice, pepper jack is fantastic. For a rich taste and silky melt, try a blend. The key is to use shredded cheese or small chunks so it distributes evenly inside the beef.
Q: Can I use plant-based alternatives?
Absolutely. Plant-based ground “beef” substitutes hold their shape in molds and work just as well. Pair them with dairy-free cheese shreds for a fully vegan version of this dish—it still delivers the creepy, festive vibe and makes your lineup of Halloween food dinner main dishes more inclusive.
Q: What’s the best way to reheat leftovers?
The oven is best since it keeps the structure intact while melting the cheese properly. Place the skulls on a baking sheet, cover loosely with foil, and warm at 325°F (160°C) for 8–10 minutes. The microwave works in a pinch but may make them slightly soft.
Final Thoughts on Halloween Cheeseburger Skulls
Halloween should be full of fun, surprises, and of course, food that turns dinner into part of the celebration. This Cheeseburger Skulls Recipe does exactly that—it’s a practical meal disguised as a spooky showstopper. With their creepy-cool design and delicious filling, these skulls add excitement to the table while keeping everyone satisfied.
What makes this dish stand out among other Ground Beef Halloween Recipes is its versatility. Kids love them because of their playful look, adults appreciate the hearty flavor, and party hosts adore the decorative impact they make on a buffet. From weeknight dinners during spooky season to centerpiece-worthy Halloween food dinner main dishes, these cheeseburger skulls deliver on every level.
So as the pumpkins are being carved and costumes laid out, why not give your meal an equally festive twist? Try making these cheeseburger skulls this year and watch your family or guests dig in with both excitement and maybe just a touch of fright. After all, spooky food is the best kind of holiday fun! 🎃🍔💀


