Halloween is the perfect time to blend spooky charm with sugary delight, and nothing does it better than Ghost Cookies. These Easy Halloween Cookies are an irresistible mix of cute and eerie—simple to bake, fun to decorate, and even more enjoyable to share. Whether you’re whipping them up for a festive party or a cozy night in, they’re the ultimate Halloween food treats for all ages. I still remember my first batch, ghost shapes wobbling slightly, icing a little uneven—but filled with laughter and love. In this post, you’ll find a simple recipe, decorating ideas, and must-know baking tips!

Why Ghost Cookies Make the Sweetest Halloween Treats
A Family Halloween Memory with Ghost Cookies
One chilly October evening, the kitchen smelled of melting butter and warm sugar while music played softly in the background. My family gathered around the table, rolling dough and cutting out ghost shapes—some tall, some plump, every one a little different. The oven light glowed like a jack-o’-lantern, and we laughed as our “ghost army” slowly took shape. When the Ghost Cookies came out golden and ready to decorate, we couldn’t resist adding silly faces and candy eyes. Those Easy Halloween Cookies quickly became the highlight of every spooky season. Each year since, their sweet vanilla scent brings back memories of laughter, frosting fights, and the joy of Halloween baking shared together. Our simple ghost-shaped cookies became more than a recipe; they became a tradition—one that blended the fun of creativity with the warmth of family.
There’s something undeniably charming about Ghost Cookies. They strike the perfect balance between spooky and sweet—creepy enough for Halloween, yet adorable enough for every age group. These little Halloween food treats are incredibly versatile: serve them at school events, set them out on a party table, or bake them on a quiet autumn afternoon at home. Their appeal lies in their simplicity. With just a few pantry staples, you can create festive Easy Halloween Cookies that spark smiles and conversations. Kids love decorating them with icing and candy eyes, while adults appreciate their classic sugar-cookie texture with a hint of nostalgia. What’s more, they fit seamlessly into any Halloween theme—whether paired with witch cupcakes or monster brownies, Ghost Cookies always steal the show. They’ve earned their place as the go-to Easy Halloween Cookies because they’re approachable, fun to personalize, and perfectly capture the cozy excitement of Halloween baking season.
Print
Spooky & Sweet Ghost Cookies – Easy Halloween Baking Idea
- Total Time: 1 hour
- Yield: 24 cookies 1x
Description
These ghost-shaped sugar cookies combine spooky charm and sugary sweetness in an easy baking project perfect for Halloween parties or cozy family nights. With simple ingredients and fun decorating ideas, they make delightful treats for all ages.
Ingredients
Instructions
1. Cream together butter and sugar until light and fluffy.
2. Beat in egg and vanilla extract until combined.
3. Whisk flour, baking powder, and salt in a separate bowl.
4. Gradually mix dry ingredients into wet ingredients until a smooth dough forms.
5. Shape dough into a disc, wrap in plastic wrap, and refrigerate for at least 30 minutes.
6. Preheat oven to 350°F and line a baking sheet with parchment paper.
7. Roll chilled dough to 1/4 inch thickness on a lightly floured surface.
8. Cut ghost shapes using a cookie cutter and place them on the prepared baking sheet.
9. Bake for 8–10 minutes until edges are set and lightly golden.
10. Allow cookies to cool on the sheet for a few minutes before transferring to a wire rack.
11. Prepare royal icing and adjust consistency for outlining and flooding.
12. Outline and flood each cookie with white icing, then add candy eyes or chocolate chips while icing is wet.
13. Let decorated cookies dry uncovered until icing is completely set.
- Prep Time: 20 minutes
- Cook Time: 10 minutes
- Category: dessert
- Method: baking
- Cuisine: american
Nutrition
- Serving Size: 1 cookie
Keywords: ghost cookies, easy halloween cookies, halloween food treats, halloween baking, spooky cookies, halloween treats, sugar cookies
How to Make Perfect Ghost Cookies at Home
Ingredients & Tools You’ll Need
One of the best things about Ghost Cookies is how easily they come together with simple pantry staples. These Easy Halloween Cookies don’t require fancy ingredients or advanced baking skills—just good quality butter, a dash of vanilla, and a little Halloween spirit. To keep the process smooth, gather all your ingredients and tools before you begin. This ensures an organized and enjoyable Halloween baking session. Below is a helpful table summarizing each ingredient, its measurement, and its purpose in the recipe.
| Ingredient | Measurement | Purpose |
|---|---|---|
| Unsalted Butter | 1 cup (softened) | Adds richness and helps create tender cookies |
| Sugar | 1 cup | Sweetens and gives structure |
| Egg | 1 large | Binds the dough for smooth texture |
| Vanilla Extract | 1 tsp | Adds warm, sweet flavor |
| All-purpose Flour | 2½ cups | Forms the base of the dough |
| Baking Powder | ½ tsp | Provides lightness and slight lift |
| Salt | ¼ tsp | Balances sweetness |
| Royal Icing | As needed | Used for classic white decorating finish |
| Candy Eyes or Chocolate Chips | 1 small handful | Adds playful ghost “faces” |
Essential Tools:
- Large mixing bowl
- Electric mixer or sturdy whisk
- Measuring cups and spoons
- Rolling pin
- Ghost-shaped cookie cutter
- Baking sheet lined with parchment paper
- Cooling rack
- Piping bags or zip-top bags for icing
Before starting, set your butter out to soften at room temperature. This is key for getting the right light, fluffy dough texture for Easy Halloween Cookies that roll perfectly and bake evenly. Sifting your flour ahead of time can also help achieve smooth cookie edges—making decorating even easier later on.
Step-by-Step Baking & Decorating Guide
- Cream the Butter and Sugar: In a large mixing bowl, cream together the softened butter and sugar until light and fluffy. This process traps air, resulting in lighter cookies with an irresistibly tender crumb.
- Add Wet Ingredients: Beat in the egg and vanilla extract until thoroughly combined for a soft, fragrant dough perfect for those comforting Halloween food treats.
- Combine Dry Ingredients: Whisk together flour, baking powder, and salt, then add to the wet mixture. Mix until smooth and pliable.
- Chill the Dough: Wrap the dough in plastic wrap and refrigerate for at least 30 minutes to prevent spreading and ensure sharp ghostly shapes.
- Preheat & Prepare: Preheat oven to 350°F (175°C) and line a baking sheet with parchment paper.
- Roll & Cut Ghost Shapes: Roll dough to ¼-inch thickness on a floured surface and use a ghost-shaped cutter to form cookies.
- Bake to Perfection: Bake 8–10 minutes, until edges are set and lightly golden. Cool before transferring to a rack.
- Prepare the Icing: Mix royal icing to your desired consistency—thicker for outlining, thinner for filling.
- Decorate Your Ghosts: Outline and flood each cookie with icing. Add candy eyes or mini chocolate chips for faces while icing is wet.
- Dry & Set: Leave cookies to dry for several hours until icing hardens completely.
Pro Tips: Chill dough before cutting, roll evenly for consistent baking, test icing on parchment first, and keep a damp cloth handy for quick cleanup. Invite children or friends to decorate—each cookie’s unique personality adds fun and charm to your Halloween baking.
Decorating Ideas & Creative Twists
Turning Ghost Cookies into Cute Halloween Food Treats
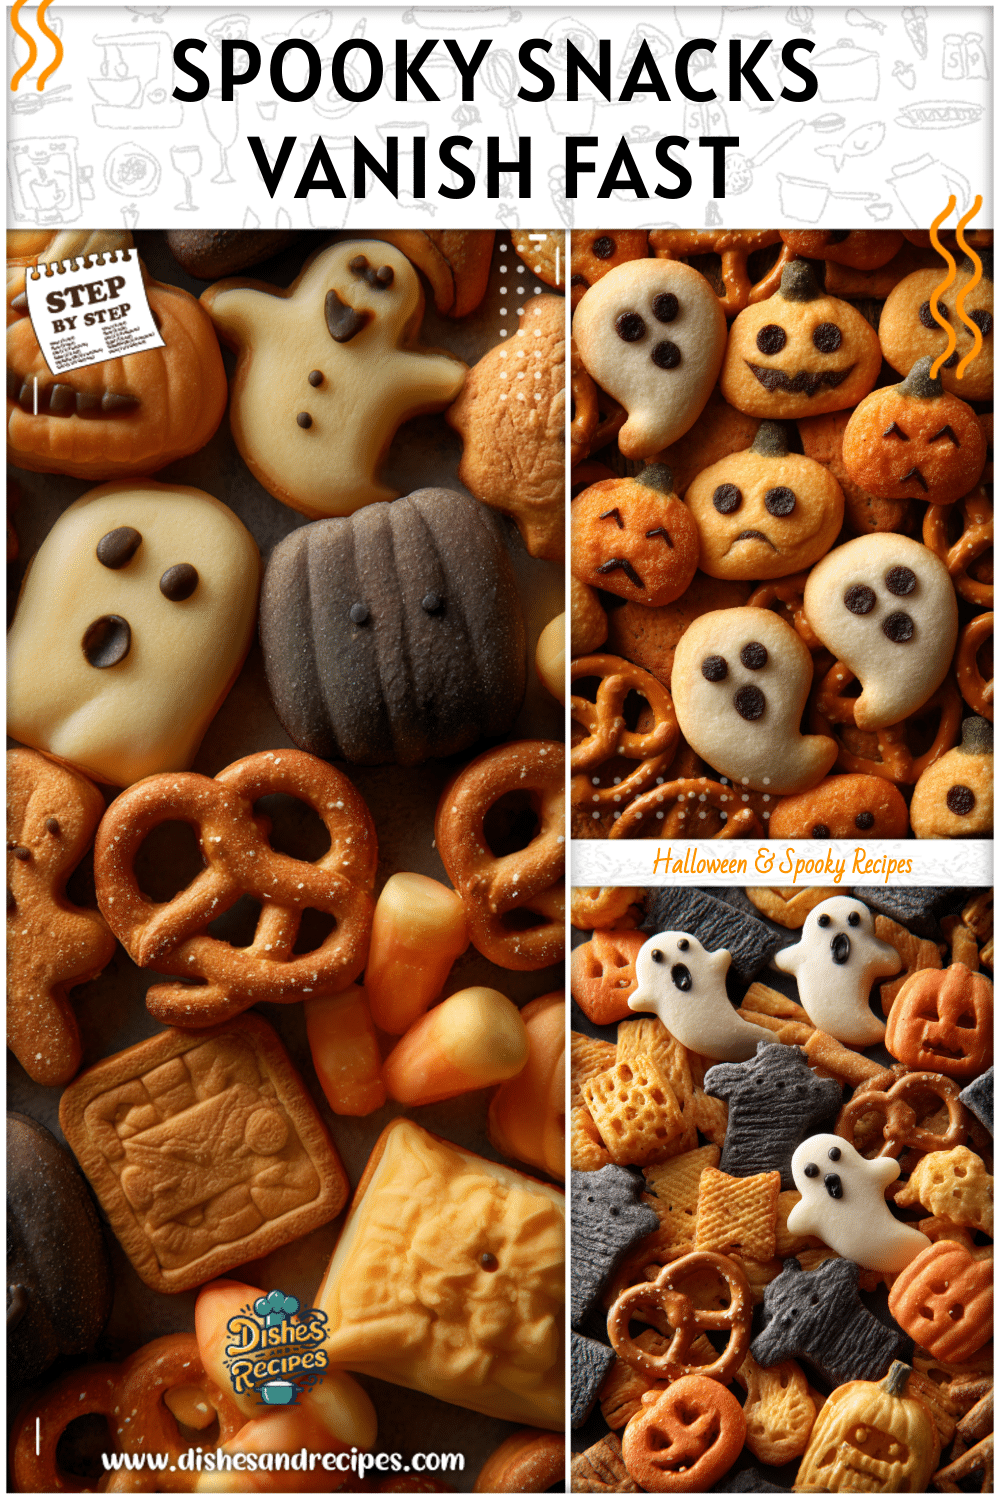
Once your Ghost Cookies are baked and cooled, the real magic begins—decorating! This is where simple sugar cookies become adorable, eye-catching Halloween food treats that brighten any table. Start with classic white icing and candy eyes, then take creativity up a notch. Brush icing with edible pearl dust or sprinkle silver glitter for shimmer under candlelight. Add colorful accents—pastel purple, orange, or midnight blue—and draw tiny smiles or surprised faces with thin piping.
Draw inspiration from trending Cat Halloween Memes by adding whiskers, ears, or tiny paw prints to your ghosts. Black or chocolate icing helps give feline flair without losing that spectral charm. Try mixing “ghost cats” with regular ghosts for a playful presentation everyone will love. Drizzle melted chocolate for ghostly shadows or add crushed sugar pearls for sparkle. For parties, let guests create their own cookies at a decorating station, filled with toppings and icings for endless designs.
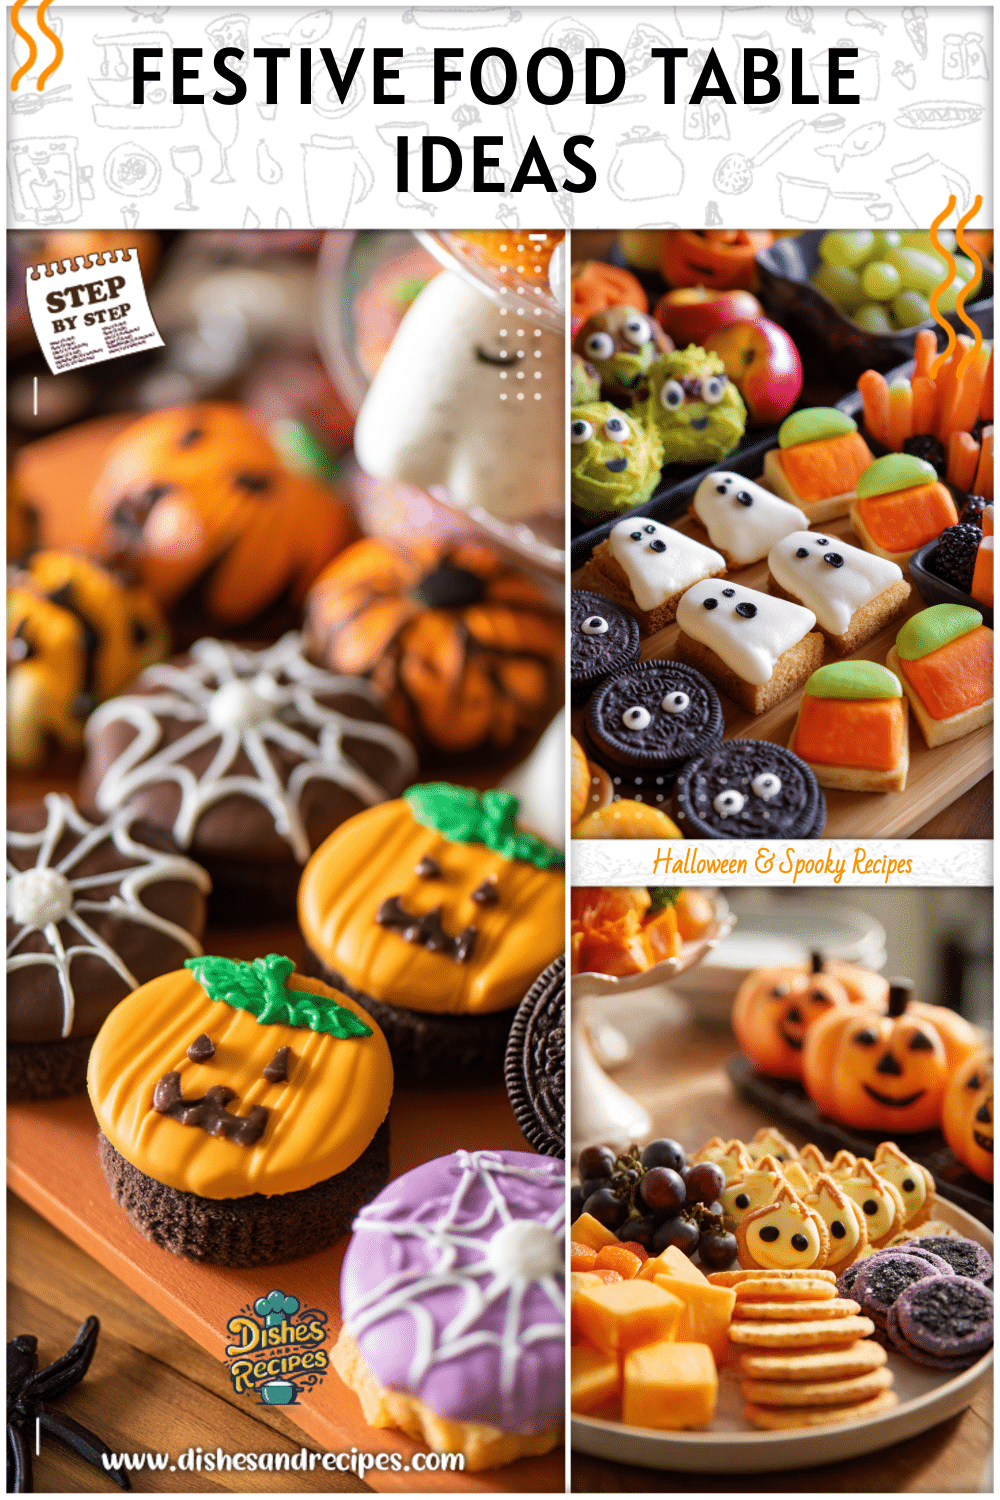
Mini ghost cookies are perfect for favors or cupcake toppers. Stack them in treat bags tied with orange ribbon or tuck into Halloween baskets. Mixing sizes adds instant dimension, and guests adore sampling different Easy Halloween Cookies. Whether eerie or cute, your creativity will shine through every spooky-sweet bite.
Fun Variations for All Ages
Halloween celebrates variety, so your Ghost Cookies should too. Adjust them to fit every preference or dietary need. For gluten-free cookies, replace flour with a 1:1 gluten-free blend and add xanthan gum for texture. Chill slightly longer before rolling for easier handling. Switch to vegan margarine or coconut oil for dairy-free delights, and thin icing with oat or almond milk as needed.
Enhance flavor with autumn spices—try cinnamon, nutmeg, or pumpkin spice for cozy aroma, or cocoa powder for dark “ghosts.” Dip the bottoms in dark chocolate for a white-and-black contrast. Add orange zest or espresso powder to your royal icing for grown-up sophistication, or let kids go wild with bright neon icing and candy toppings.
Present your cookies alongside mugs of cocoa, pumpkin lattes, or spiced cider. Display a mix of ghosts, pumpkins, and cats to create a fun cookie tableau. However you serve them, these adaptable Halloween food treats showcase creativity and connection with every bite.
Frequently Asked Questions
1. What’s the best icing for Ghost Cookies?
Royal icing gives the perfect glossy finish and hardens beautifully, ideal for stacking or gift boxes. For a softer bite, opt for a simple glaze of powdered sugar and milk—both enhance your Easy Halloween Cookies perfectly.
2. Can I freeze Ghost Cookie dough ahead of time?
Yes! Wrap dough in plastic and freeze up to two months. Thaw overnight before rolling. Chilled dough helps maintain ghostly shapes and saves prep time for future Halloween baking.
3. How do I prevent my cookies from spreading?
Keep butter cool, chill the dough before baking, and avoid overmixing. Weigh flour correctly and bake on cool, parchment-lined sheets for sharp-edged Ghost Cookies.
4. What’s the best way to store decorated cookies?
Once icing dries completely, layer cookies with parchment in an airtight container. Store at room temperature for up to a week or freeze undecorated cookies for longer life. They’ll stay fresh and delicious, ready for any Halloween food treats display.
5. Can kids help make these cookies safely?
Of course! Measuring, mixing, and cutting are perfect tasks for little hands. Let them decorate too—it’s the most joyous part! These Easy Halloween Cookies turn family time into a warm, laughter-filled Halloween baking experience.
Sweet Endings for Spooky Nights
As the laughter fades and the last batch cools, Spooky & Sweet Ghost Cookies remain the heart of Halloween—simple, creative, and full of love. Whether sticking to the classic recipe or adding twists inspired by Cat Halloween Memes, each cookie becomes a delight to share.
Beyond sweetness, these Easy Halloween Cookies foster togetherness—from rolling dough to dotting candy eyes, every ghost holds a memory. Enjoy them at lively parties or quiet evenings aglow with pumpkins; Ghost Cookies bring warmth to every celebration.
This season, grab your cutters and try this Easy Halloween Baking Idea. Invite loved ones, laugh over icing spills, and turn spooky nights into sweet traditions. After all, Halloween food treats like these are made for joy—no tricks, only treats for everyone.


